Add a Store
We have add a storage provider, a model provider, and a embedding provider. Now we need to configure a store to use these providers.
This guide assumes that you have already deployed a Casibase knowledge base system. If you have not, please follow the Deploy Casdoor and Casibase guide.
Besides, this guide assumes that you have already added a storage provider, a model provider, and a embedding provider. If you have not, please follow the Add a Storage Provider, Add a Model Provider, and Add a Embedding Provider guides.
Step 1: Add a New Store
Stores are used to integrate storage, model, and embedding providers into Casibase. You can add them by following these steps:
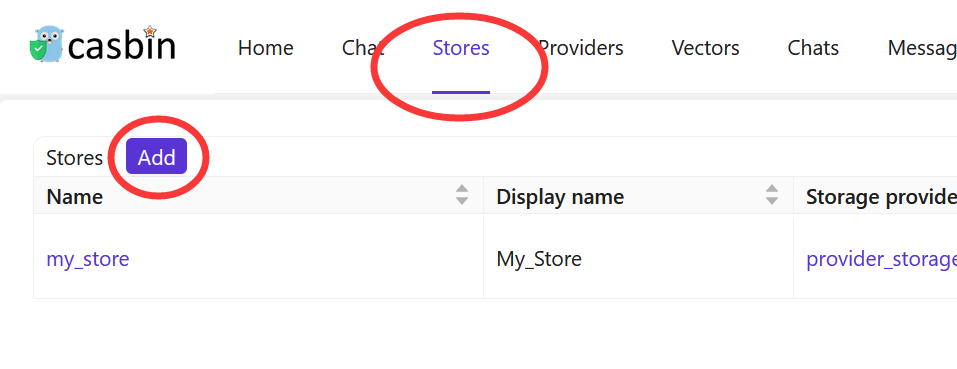
Click the Stores button on the home page and then click the Add button to add a store.
Step 2: Fill in Store Details
Fill in the store details and click the Save & Exit button.
This part we have done if you follow the Add a Storage Provider guides.
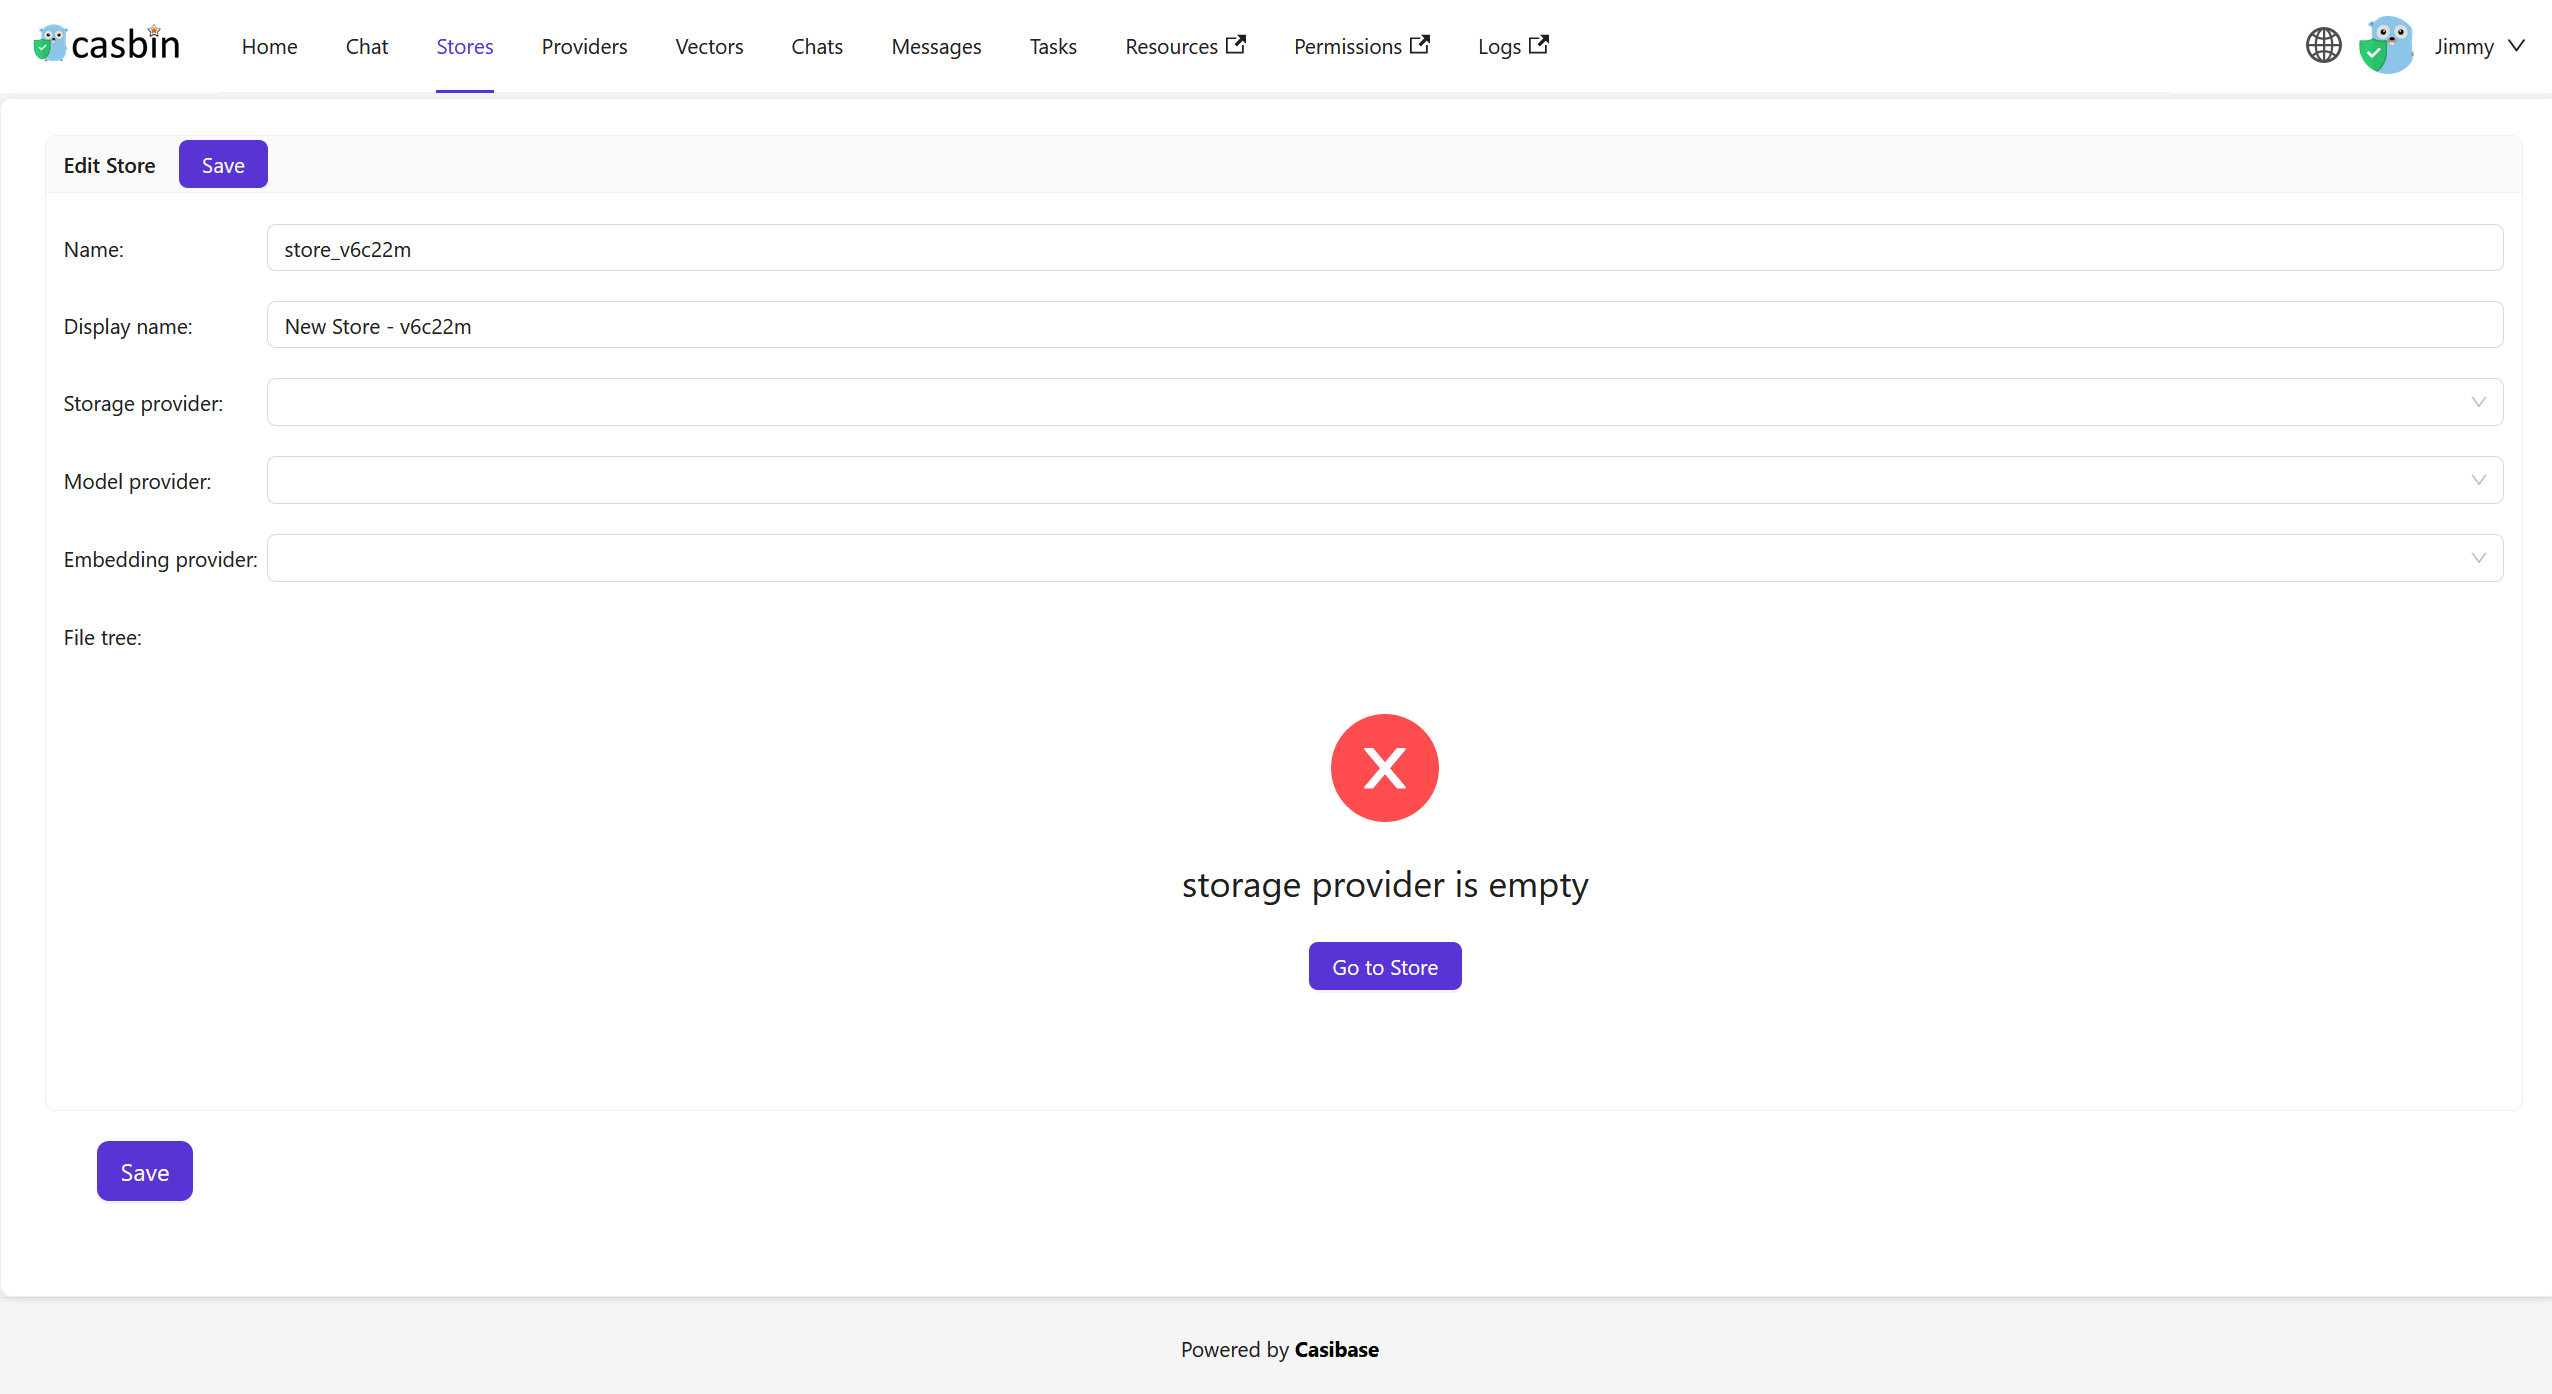
Select the storage provider, model provider, and embedding provider you added before.
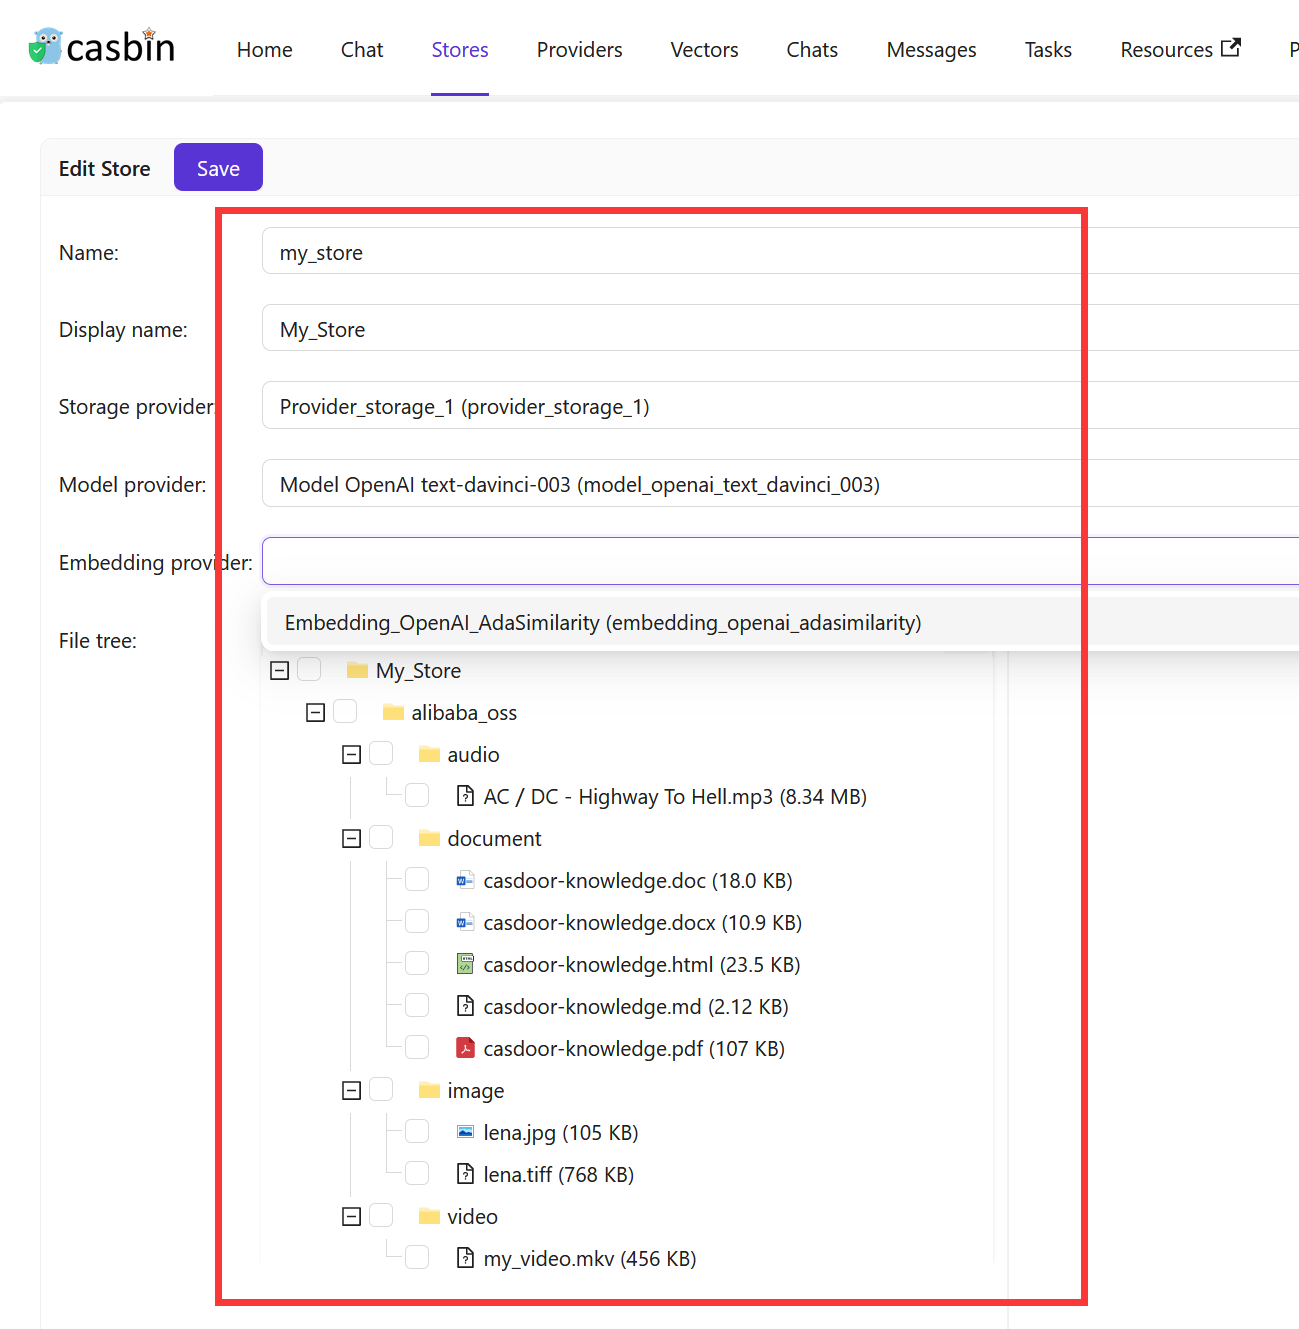
Click the Save & Exit button and return stores list page:

Now, you can use the store to store knowledge base data, convert text to vectors, and chat with the chatbot.
In the next section, we will learn how to chat with the chatbot in Casibase.
Support Multi-Store
The multi-store mode provides users with different models, suggestions, and more within each distinct store.
Step 1: Enable Multi-Store
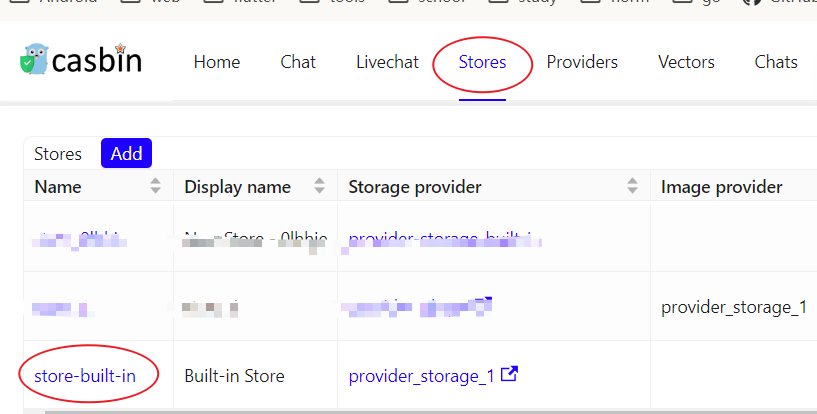
First you should enable multi-repository mode in the built-in store.
Click theStoresbutton on the home page and then click thestore-built-inbutton to enter the store-built-in store.
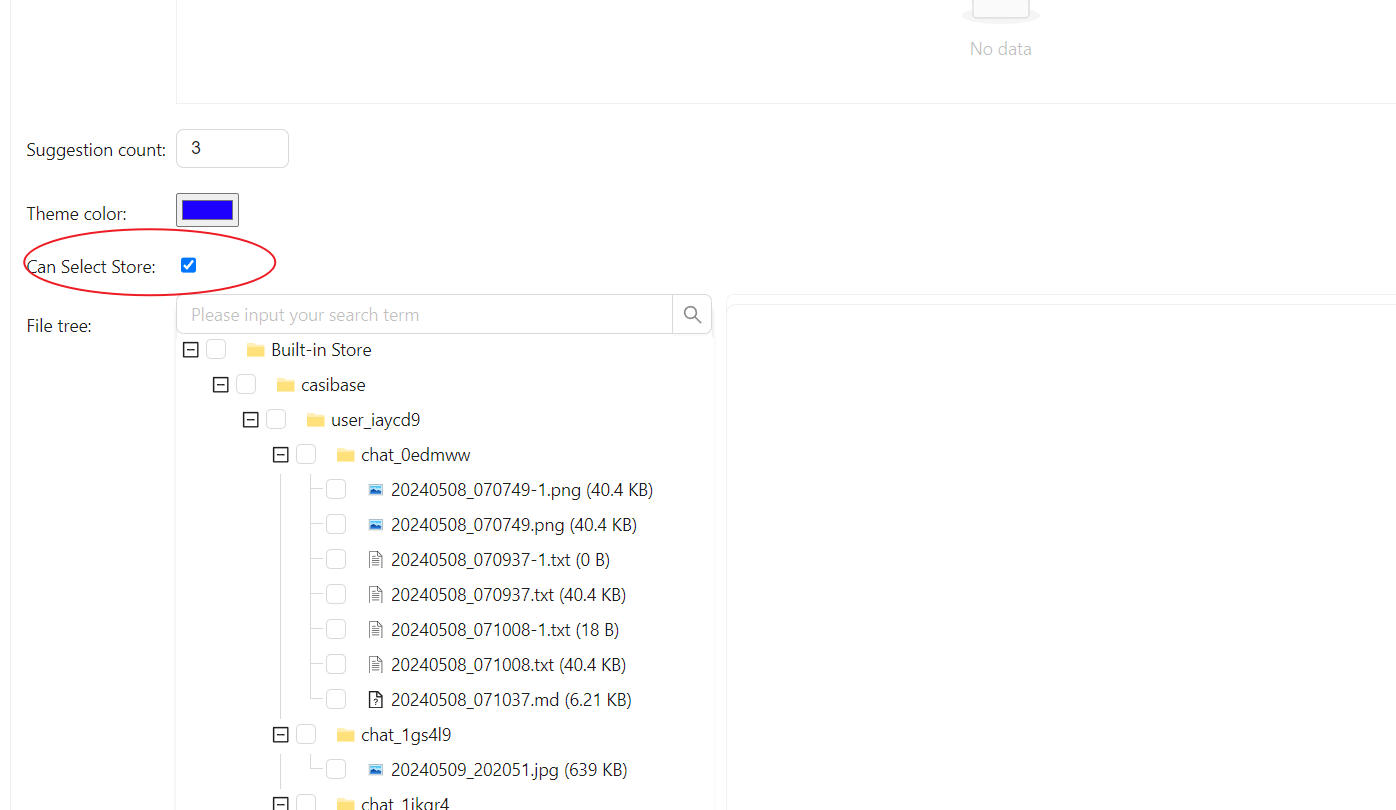
Scroll down and find the Can Select Storefield, tick it.
Step 2: Add Usable Store
The multi-store mode only provides usable stores. To make a store usable, you need to configure its storage provider, model provider, and embedding provider.
Step 3: Select For Conversation
Casibase provides a very convenient method for selecting a store.
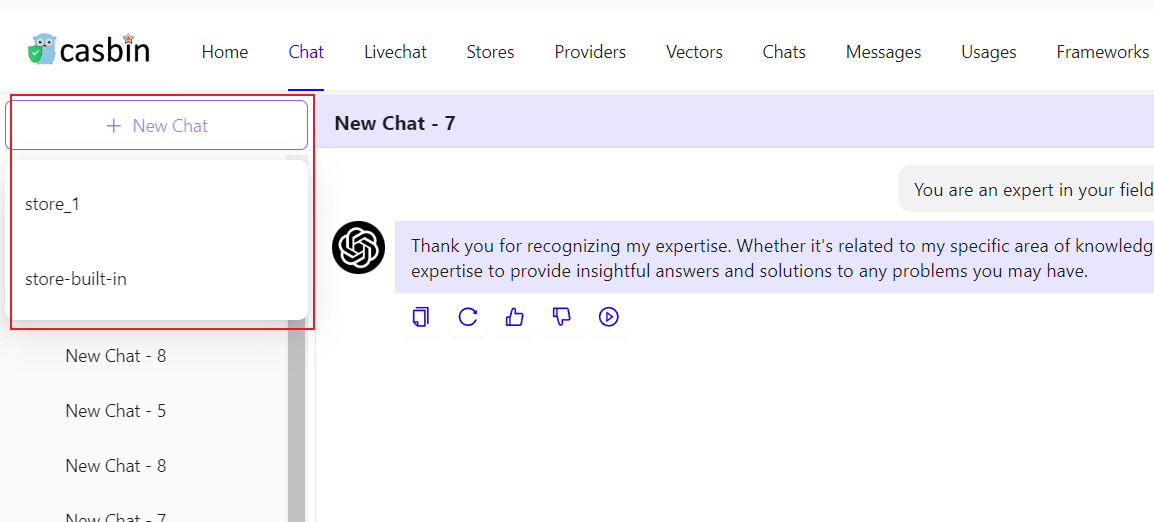
Just hover your mouse over "New Chat" and then you can select the Store you wish to use from the list that appears below.
If you click the "New Chat" button, the system will assign you a default Store.