Store Configuration
After adding storage providers, model providers and embedding providers, we can configure the stores
1.Add a New Store
Stores are used to integrate storage, model, and embedding providers into Casibase. You can add them by following these steps:
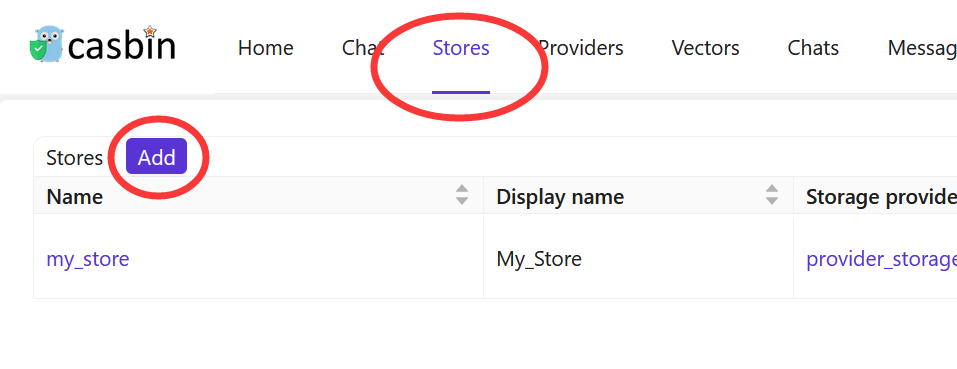
Click the Stores button on the home page and then click the Add button to add a store.
Fill in Store Details
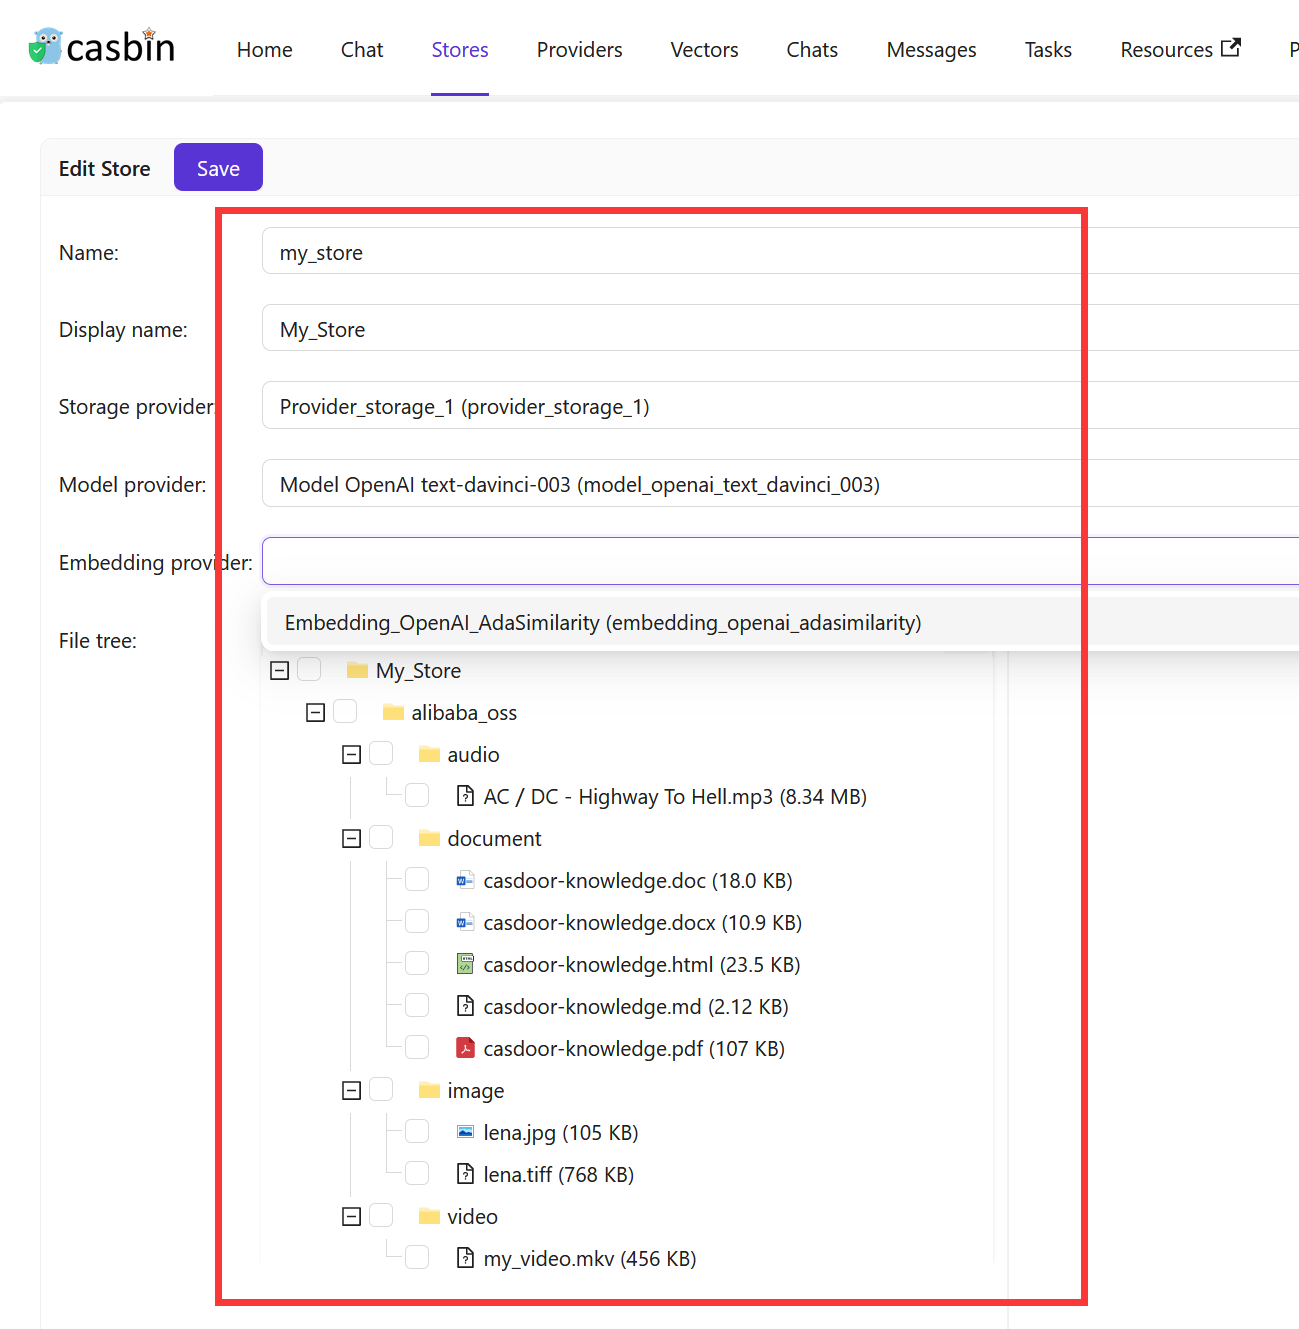
Fill in the store details and click the Save & Exit button.
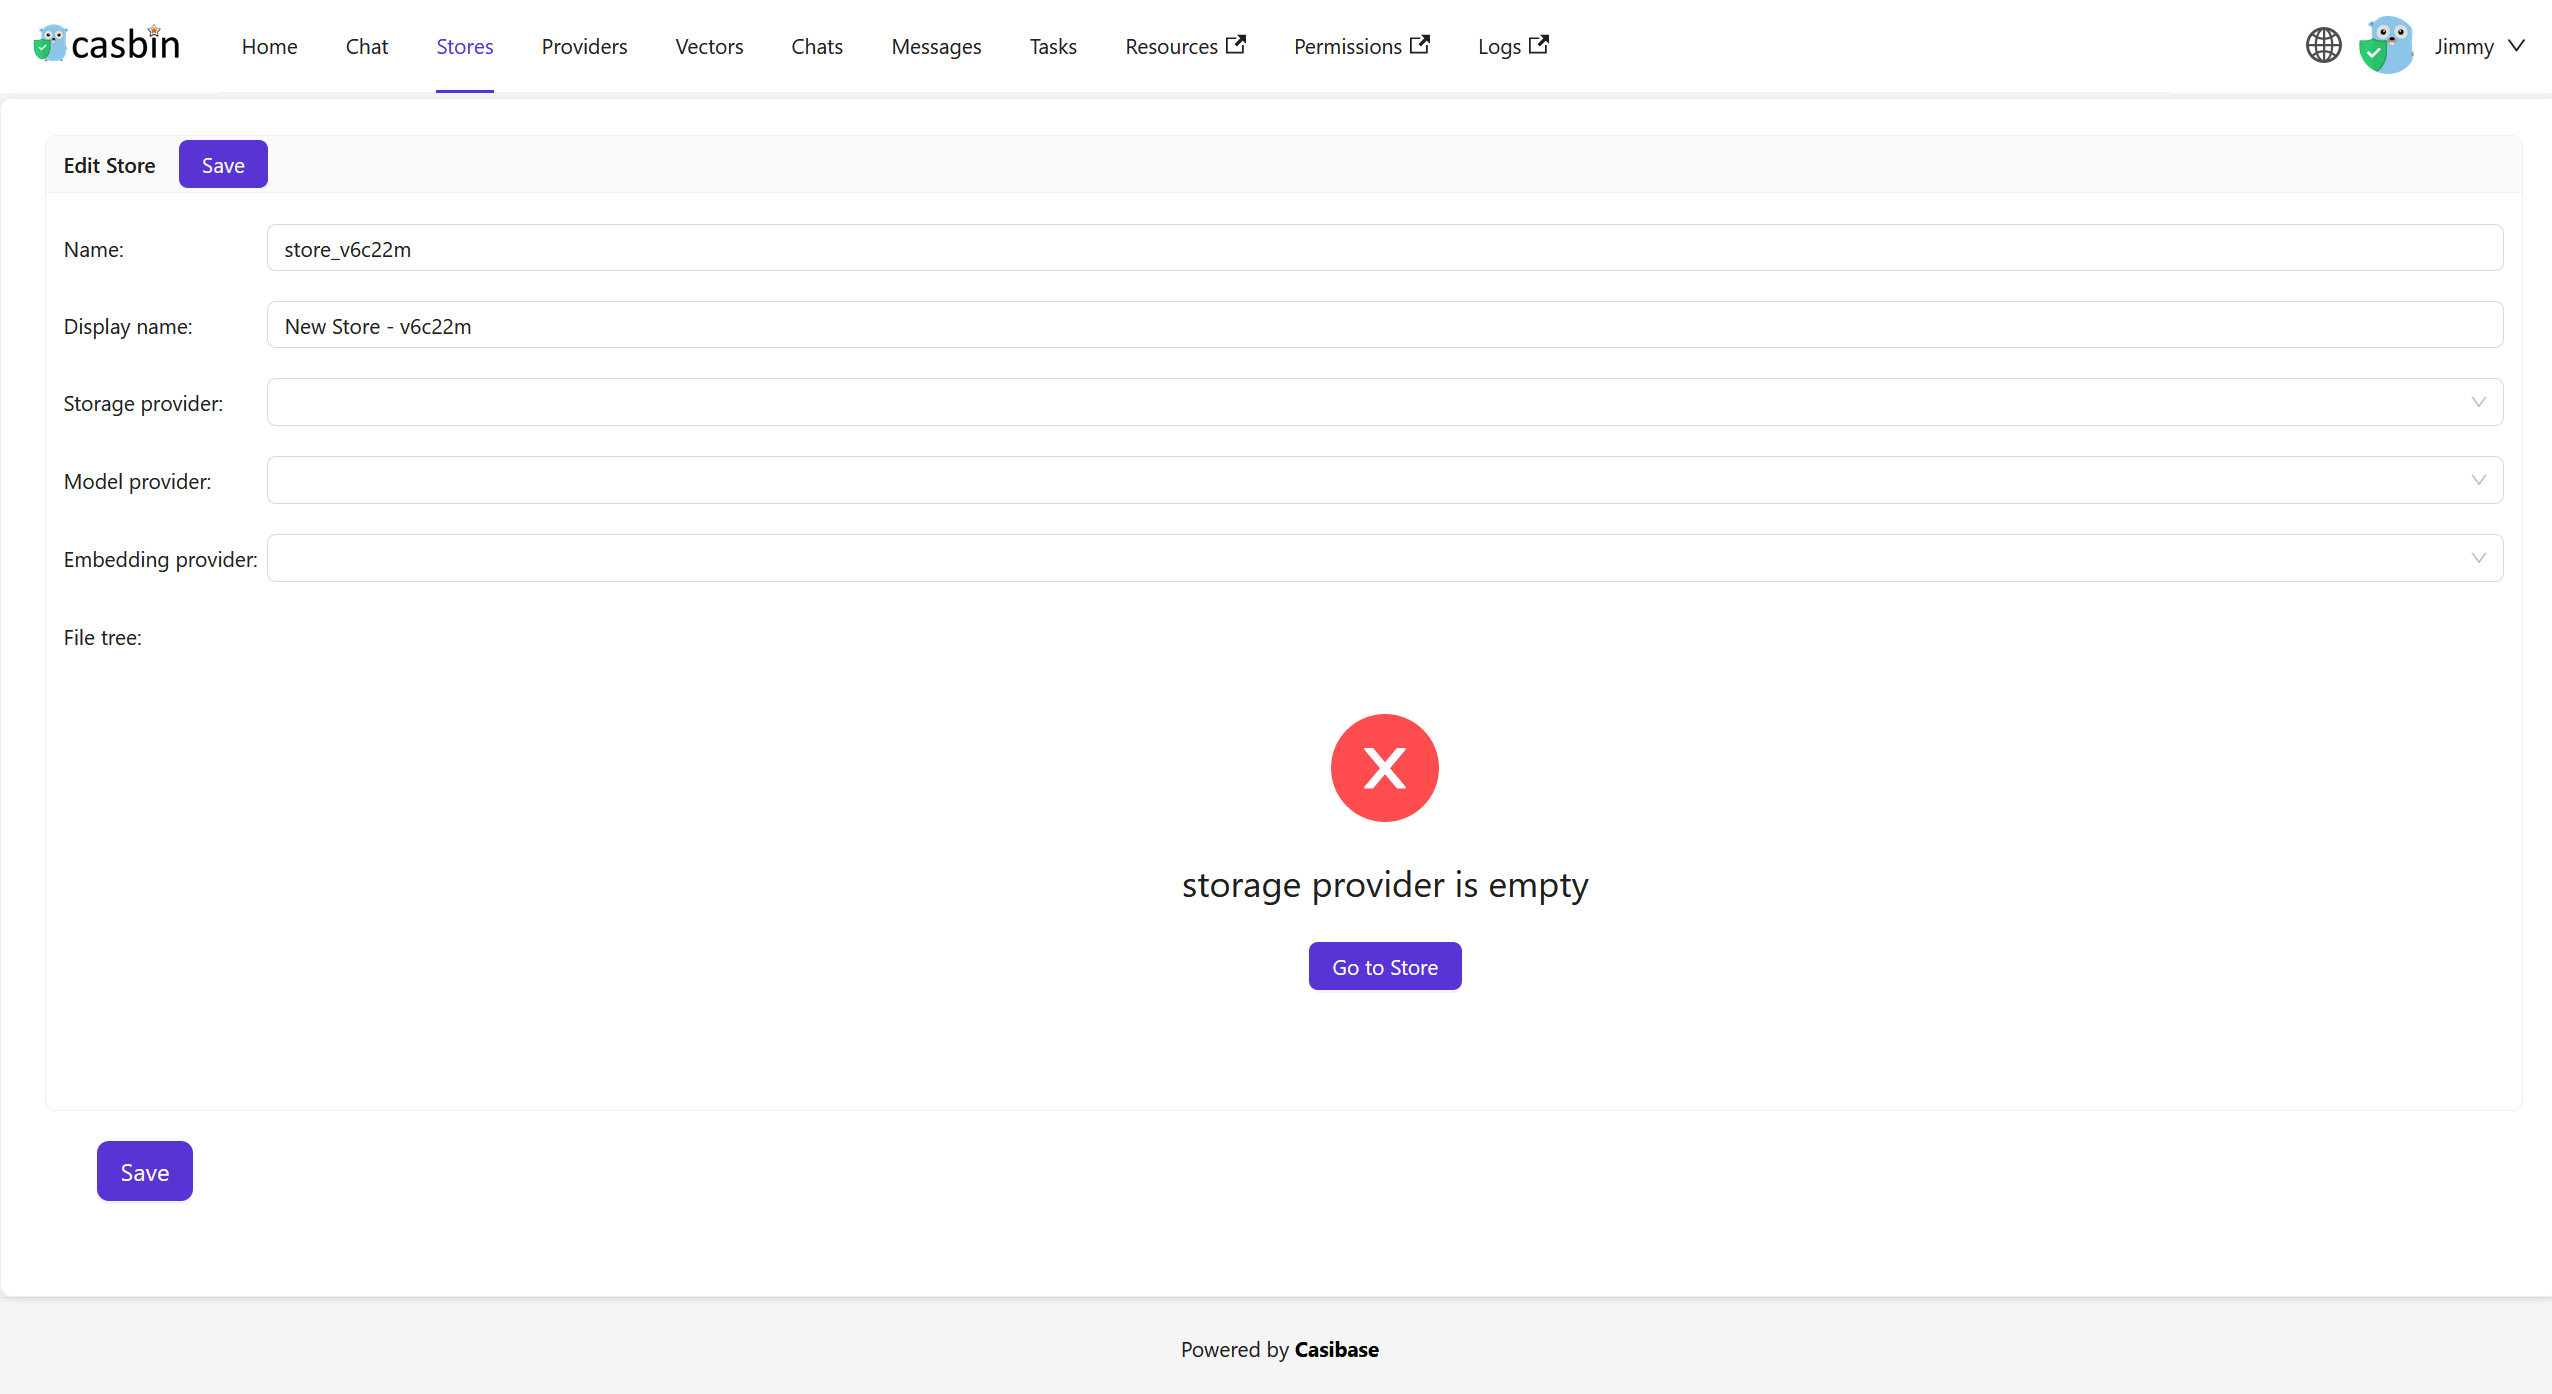
Select the storage provider, model provider, embedding provider, text-to-speech provider and speech-to-text provider you added before.
Click the Save & Exit button and return to the stores list page:

The store list shows many columns for AI configurations like model providers, embedding providers, and voice settings. If you're mainly using stores for file management, toggle "Hide chat" at the top of the list to simplify the view and show only the essentials: name, storage provider, and status.
Now, you can use the store to store knowledge base data, convert text to vectors, and chat with the chatbot.
When configuring your store, consider adding example questions that appear when users start a new chat. These suggestions help users discover what they can ask and get them started quickly. You can also configure which other stores this one should search through using the Vector stores field - useful when you want one store to pull knowledge from multiple sources.
Vector Stores
Sometimes you need one store to search through knowledge from multiple other stores. For example, you might have separate stores for different topics or departments, but want a main store that can answer questions by searching across all of them. The Vector stores field makes this possible by letting a store use vectors from other stores in addition to its own.
To configure this, navigate to the store edit page and find the Vector stores field. You can select one or more stores from the dropdown list. When you chat with this store, it will automatically search through both its own vectors and the vectors from all the stores you selected. This way, you can create a centralized knowledge hub without duplicating content across multiple stores.
The store always uses its own vectors automatically. You only need to specify additional stores in the Vector stores field when you want to search across multiple knowledge bases.
In the next section, we will learn how to chat with the chatbot in Casibase.
2.File Management
Automatic Vector Generation
When you upload files to a store, Casibase automatically generates vector embeddings in the background. Each file goes through several states that you can track in the file list:
- Pending: File uploaded, waiting for embedding to start
- Processing: Currently generating vectors from the file content
- Finished: Vector generation completed successfully
- Error: Something went wrong during embedding (check the error text for details)
This happens without any manual intervention - just upload your files and let Casibase handle the rest. The system splits your documents into chunks, generates embeddings for each chunk, and stores them for fast retrieval during chat.
File Status Tracking
Navigate to the Files page to see all uploaded files across your stores. Each file shows its current status and token count. Files in the "Error" state display detailed error messages so you can troubleshoot issues like unsupported file formats or provider configuration problems.
When you delete a file from storage, Casibase automatically removes its associated vectors from the database. This keeps your vector database clean and prevents outdated information from appearing in chat responses.
Re-embedding Individual Files
Sometimes you need to regenerate vectors for a specific file - perhaps you've changed the embedding model or fixed a previous error. The "Refresh Vectors" button in the file list lets you re-embed individual files without affecting other content in the store.
Click the button next to any file to delete its existing vectors and generate fresh ones. The file status updates in real-time as processing completes, and the token count reflects the newly generated embeddings. This targeted approach saves time compared to refreshing the entire store when you only need to update a few files.
3.Store Isolation for Users
Casibase lets you restrict users to specific stores through Casdoor's Homepage field. When a user's Homepage matches a store name, they become bound to that store and work within it exclusively - perfect for multi-tenant setups where teams need separate knowledge bases.
Bound users see their assigned store locked in the top bar selector. They can view and query only that store's data, and API calls to other stores fail with an error. They also cannot add, delete, or rename stores, keeping their workspace stable and isolated.
To bind a user, edit their Casdoor profile and set the Homepage field to the exact store name (case-sensitive). The binding activates on their next login. Users with an empty Homepage or one that doesn't match any store keep full access to all stores, so you can mix restricted and unrestricted users easily.
4.Support Multi-store
The multi-store mode provides users with different models, suggestions, and more within each distinct store.
Enable Multi-store
First, you should enable multi-store mode in the built-in store.
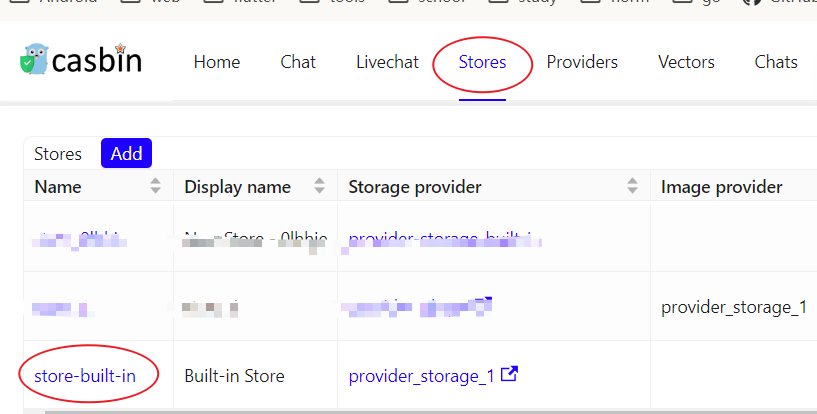
Click the Stores button on the home page and then click the store-built-in button to enter the store-built-in store.
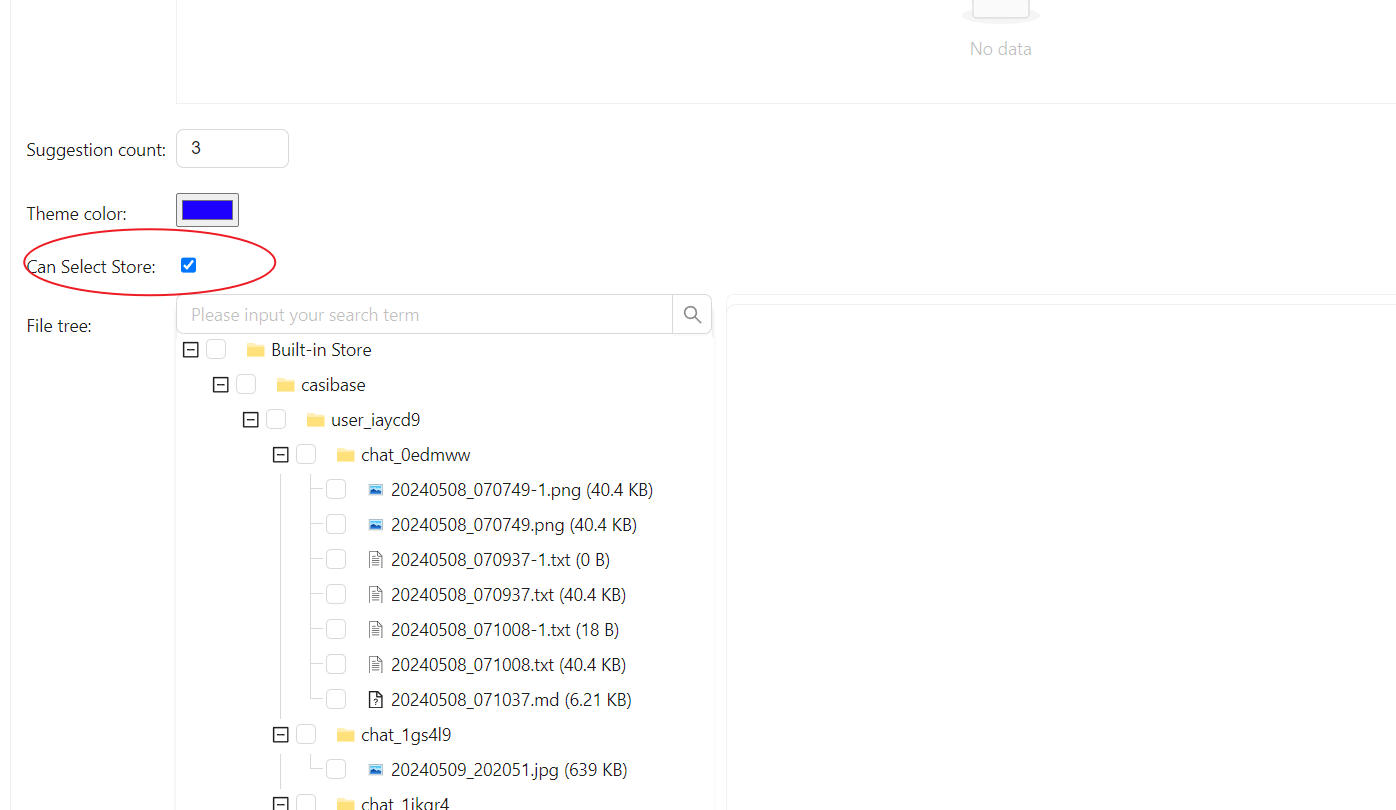
Scroll down and find the Can Select Storefield, tick it.
Add Usable Stores
The multi-store mode only provides usable stores. To make a store usable, you need to configure its storage provider, model provider, and embedding provider.
Select For Conversation
Casibase provides a very convenient method for selecting a store.
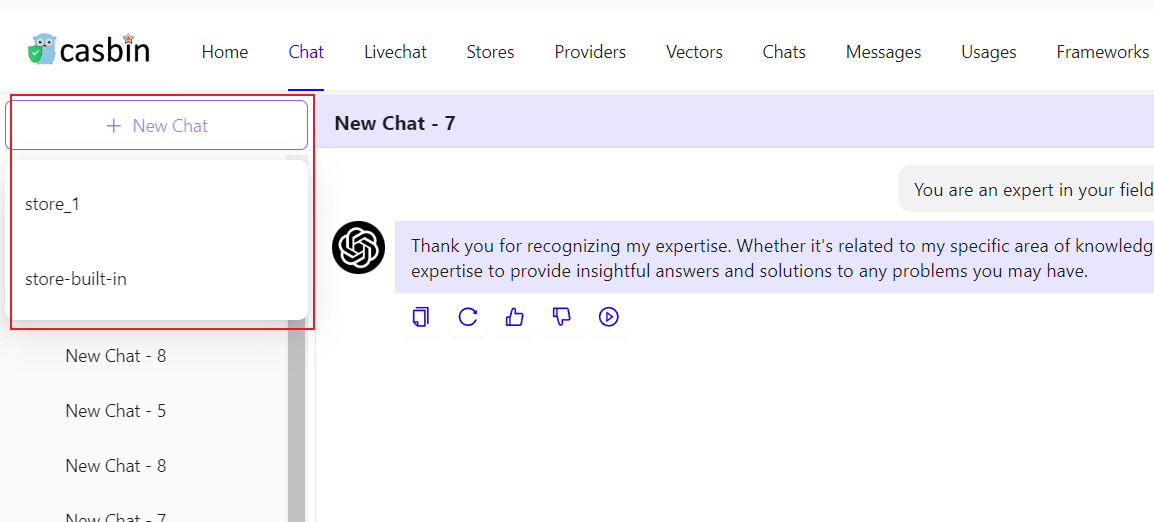
Just hover your mouse over "New Chat" and then you can select the Store you wish to use from the list that appears below.
If you click the "New Chat" button, the system will assign you a default Store.