ストア設定
ストレージプロバイダー、モデルプロバイダー、埋め込みプロバイダーを追加した後、ストアを設定できます
1. 新しいストアの追加
ストレージ、モデル、および組み込みプロバイダをCasibaseに統合するために店舗が使用されます。 以下の手順に従って、追加できます:
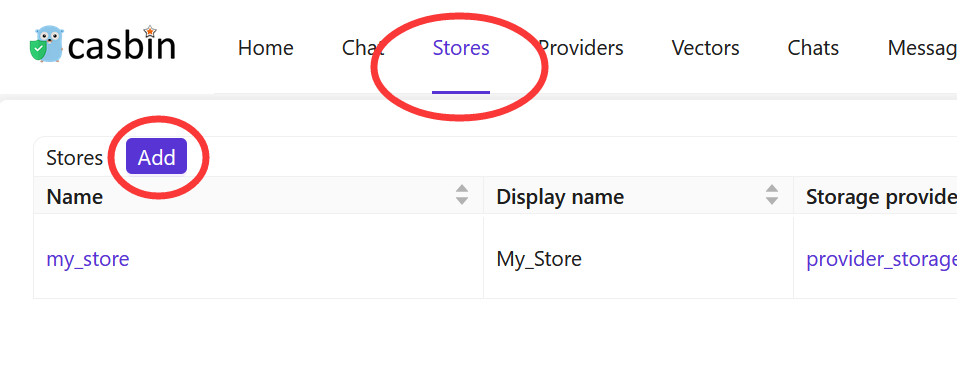
メインページでStoresボタンをクリックし、次にAddボタンをクリックしてストアを追加します。
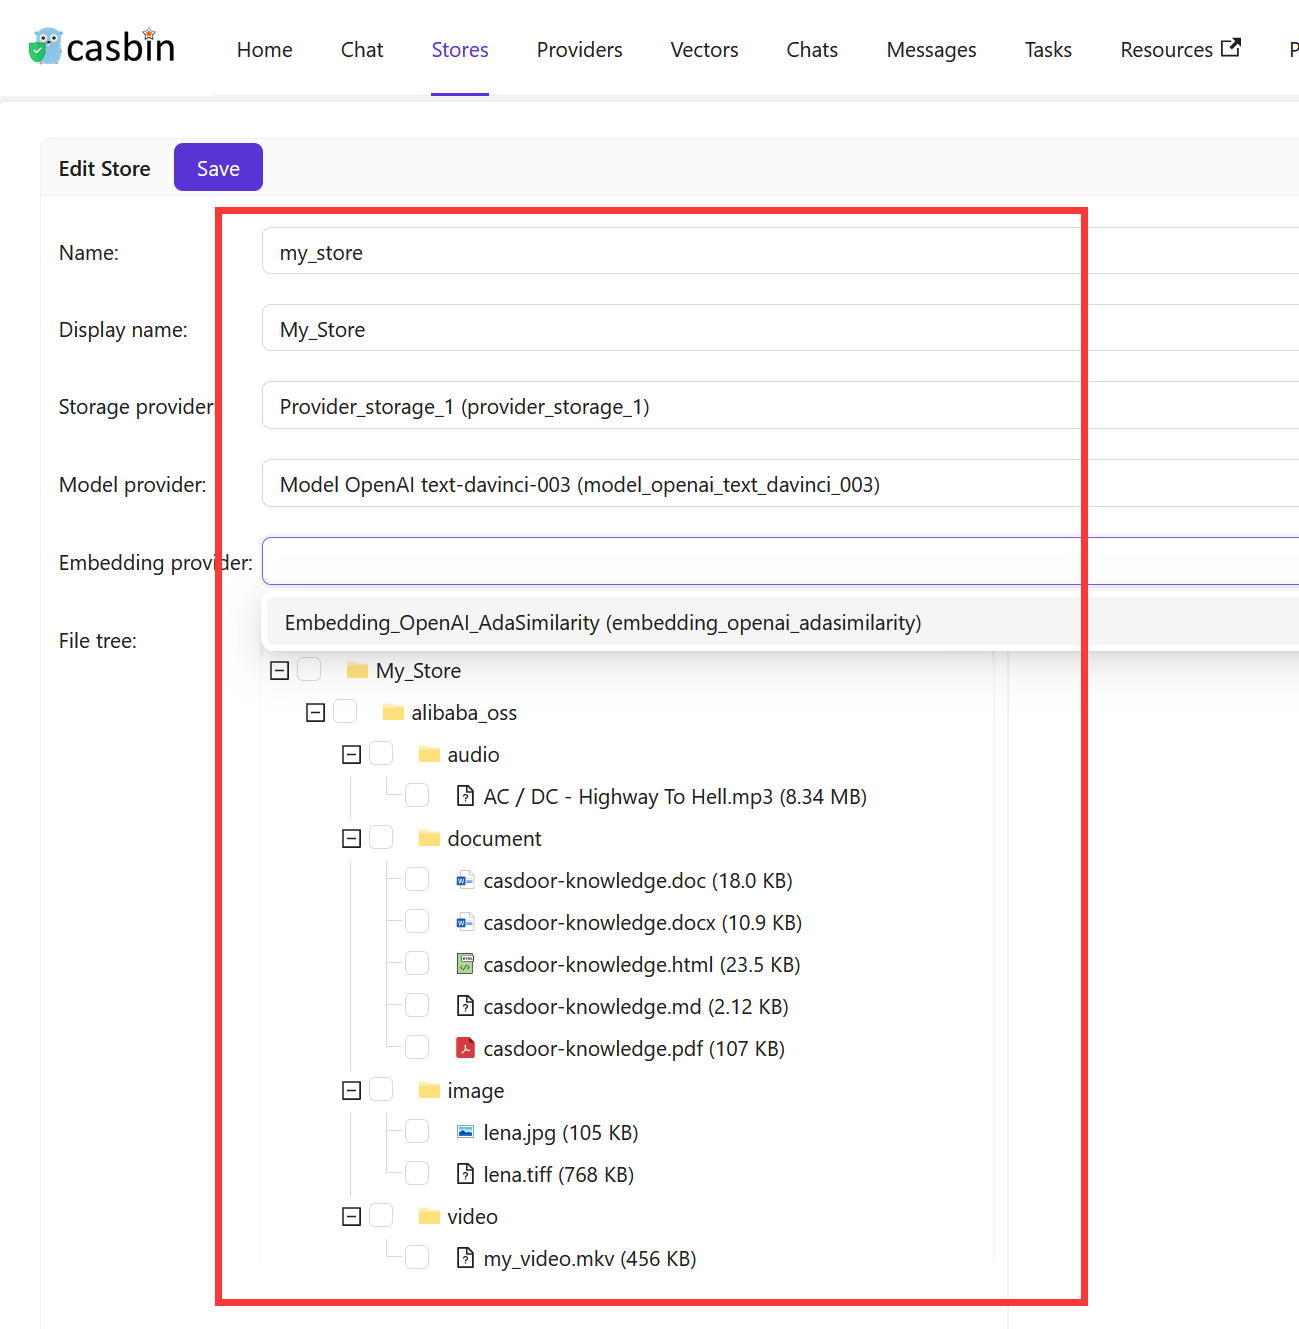
ストアの詳細を入力
ストアの詳細を入力し、Save & Exitボタンをクリックします。
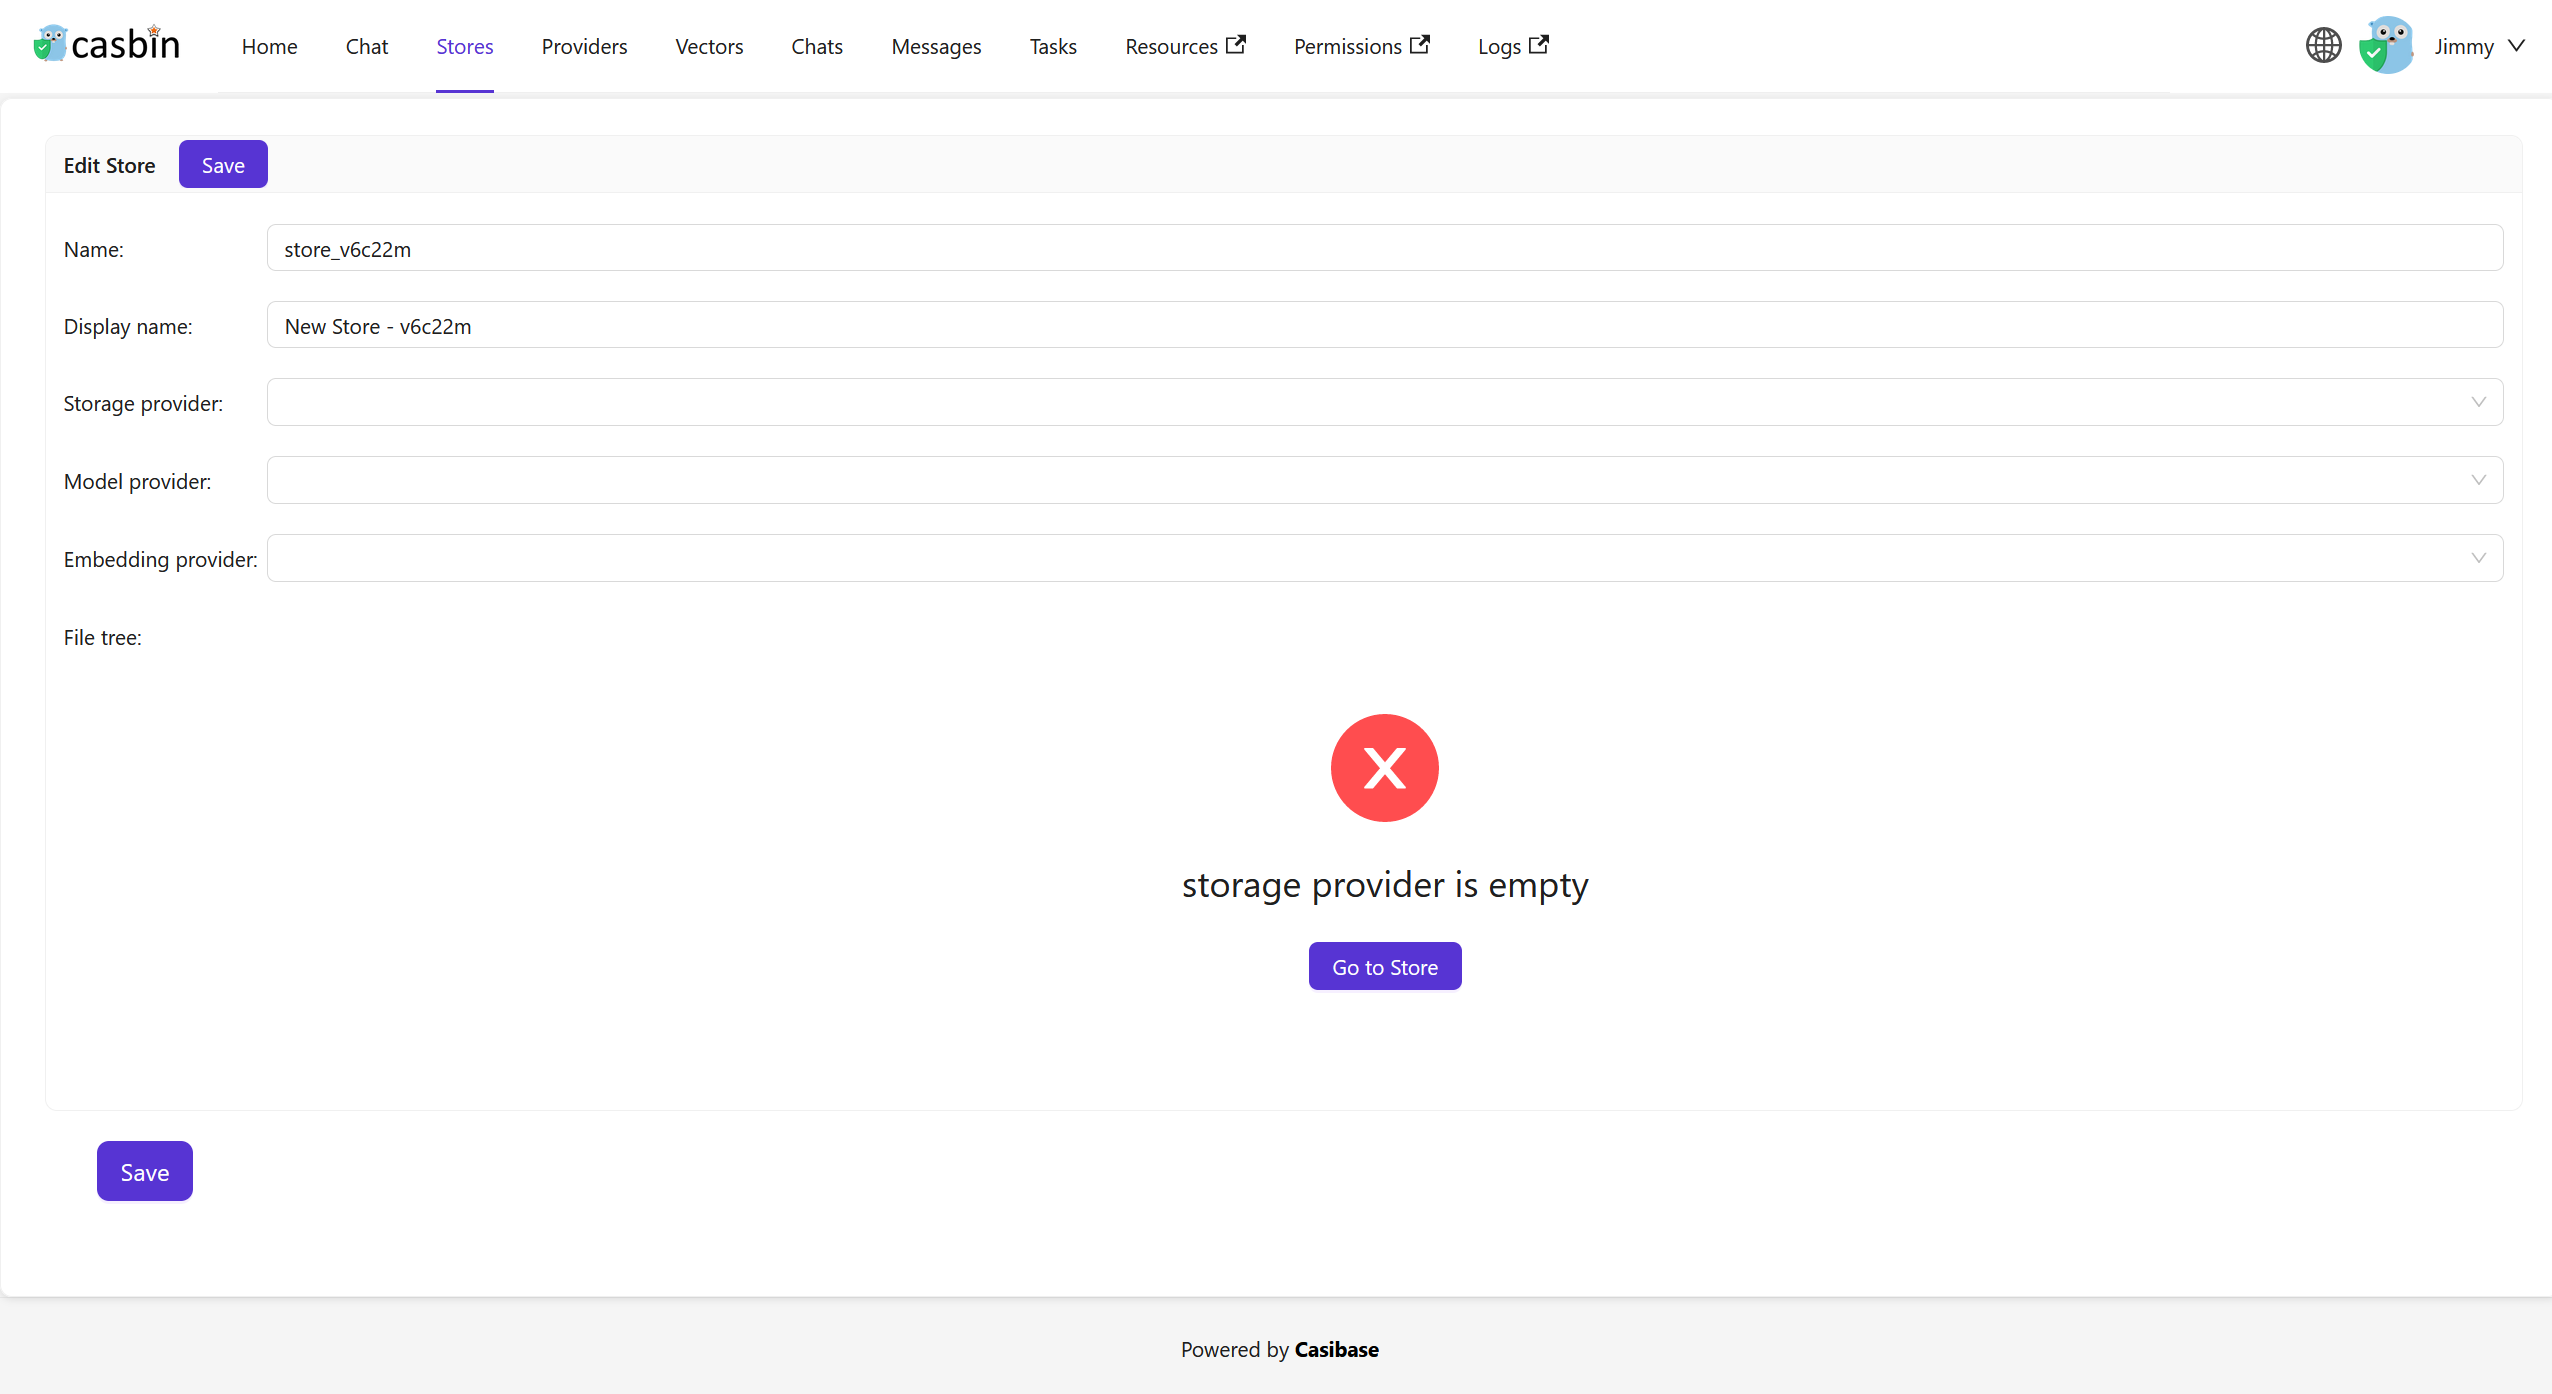
Select the storage provider, model provider, embedding provider, text-to-speech provider and speech-to-text provider you added before.
Save & Exitボタンをクリックしてストア一覧ページに戻ります:

The store list shows many columns for AI configurations like model providers, embedding providers, and voice settings. If you're mainly using stores for file management, toggle "Hide chat" at the top of the list to simplify the view and show only the essentials: name, storage provider, and status.
これで、ストアを使用してナレッジデータを保存し、テキストをベクトルに変換し、チャットボットと会話することができます。
When configuring your store, consider adding example questions that appear when users start a new chat. These suggestions help users discover what they can ask and get them started quickly. You can also configure which other stores this one should search through using the Vector stores field - useful when you want one store to pull knowledge from multiple sources.
Vector Stores
Sometimes you need one store to search through knowledge from multiple other stores. For example, you might have separate stores for different topics or departments, but want a main store that can answer questions by searching across all of them. The Vector stores field makes this possible by letting a store use vectors from other stores in addition to its own.
To configure this, navigate to the store edit page and find the Vector stores field. You can select one or more stores from the dropdown list. When you chat with this store, it will automatically search through both its own vectors and the vectors from all the stores you selected. This way, you can create a centralized knowledge hub without duplicating content across multiple stores.
The store always uses its own vectors automatically. You only need to specify additional stores in the Vector stores field when you want to search across multiple knowledge bases.
次のセクションでは、Casibaseのチャットボットとのチャット方法を学びます。
2.Store Isolation for Users
Casibase lets you restrict users to specific stores through Casdoor's Homepage field. When a user's Homepage matches a store name, they become bound to that store and work within it exclusively - perfect for multi-tenant setups where teams need separate knowledge bases.
Bound users see their assigned store locked in the top bar selector. They can view and query only that store's data, and API calls to other stores fail with an error. They also cannot add, delete, or rename stores, keeping their workspace stable and isolated.
To bind a user, edit their Casdoor profile and set the Homepage field to the exact store name (case-sensitive). The binding activates on their next login. Users with an empty Homepage or one that doesn't match any store keep full access to all stores, so you can mix restricted and unrestricted users easily.
3.Support Multi-store
マルチストアモードは、それぞれの異なるストアでユーザーに異なるモデルと提案を提供します。
マルチストアの有効化
まず、ビルトインストアでマルチストアモードを有効にする必要があります。
メインページでStoresボタンをクリックし、次にstore-built-inボタンをクリックしてビルトインストアに入ります。

下にスクロールしてCan Select Storeフィールドを見つけ、チェックを入れます。

利用可能なストアの追加
マルチストアモードは利用可能なストアのみを提供します。ストアを利用可能にするには、そのストアのストレージプロバイダー、モデルプロバイダー、埋め込みプロバイダーを設定する必要があります。 ストアを利用可能にするためには、そのストレージプロバイダー、モデルプロバイダー、及び埋め込みプロバイダーを設定する必要があります。
会話用のストアの選択
Casibaseは、店舗を選択するための非常に便利な方法を提供します。

"New Chat"にマウスを合わせると、下に表示されるリストから使用したいストアを選択できます。
"New Chat"ボタンをクリックすると、デフォルトのストアが割り当てられます。