存储配置
在添加存储提供商、模型提供商和嵌入提供商后,我们可以配置存储
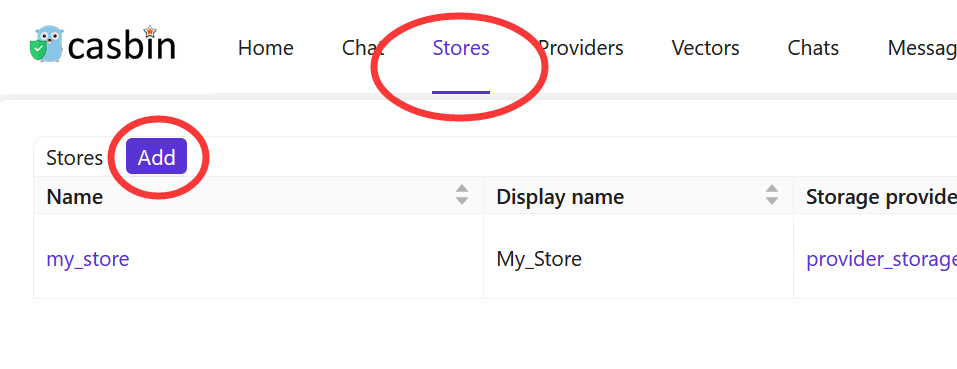
1. 添加新存储
存储用于将存储、模型和嵌入提供商集成到 Casibase 中。你可以按照以下步骤添加它们: 您可以按照以下步骤添加它们:
点击主页上的 存储 按钮,然后点击 添加 按钮来添加存储。
填写存储详情
填写存储详情并点击 保存并退出 按钮。
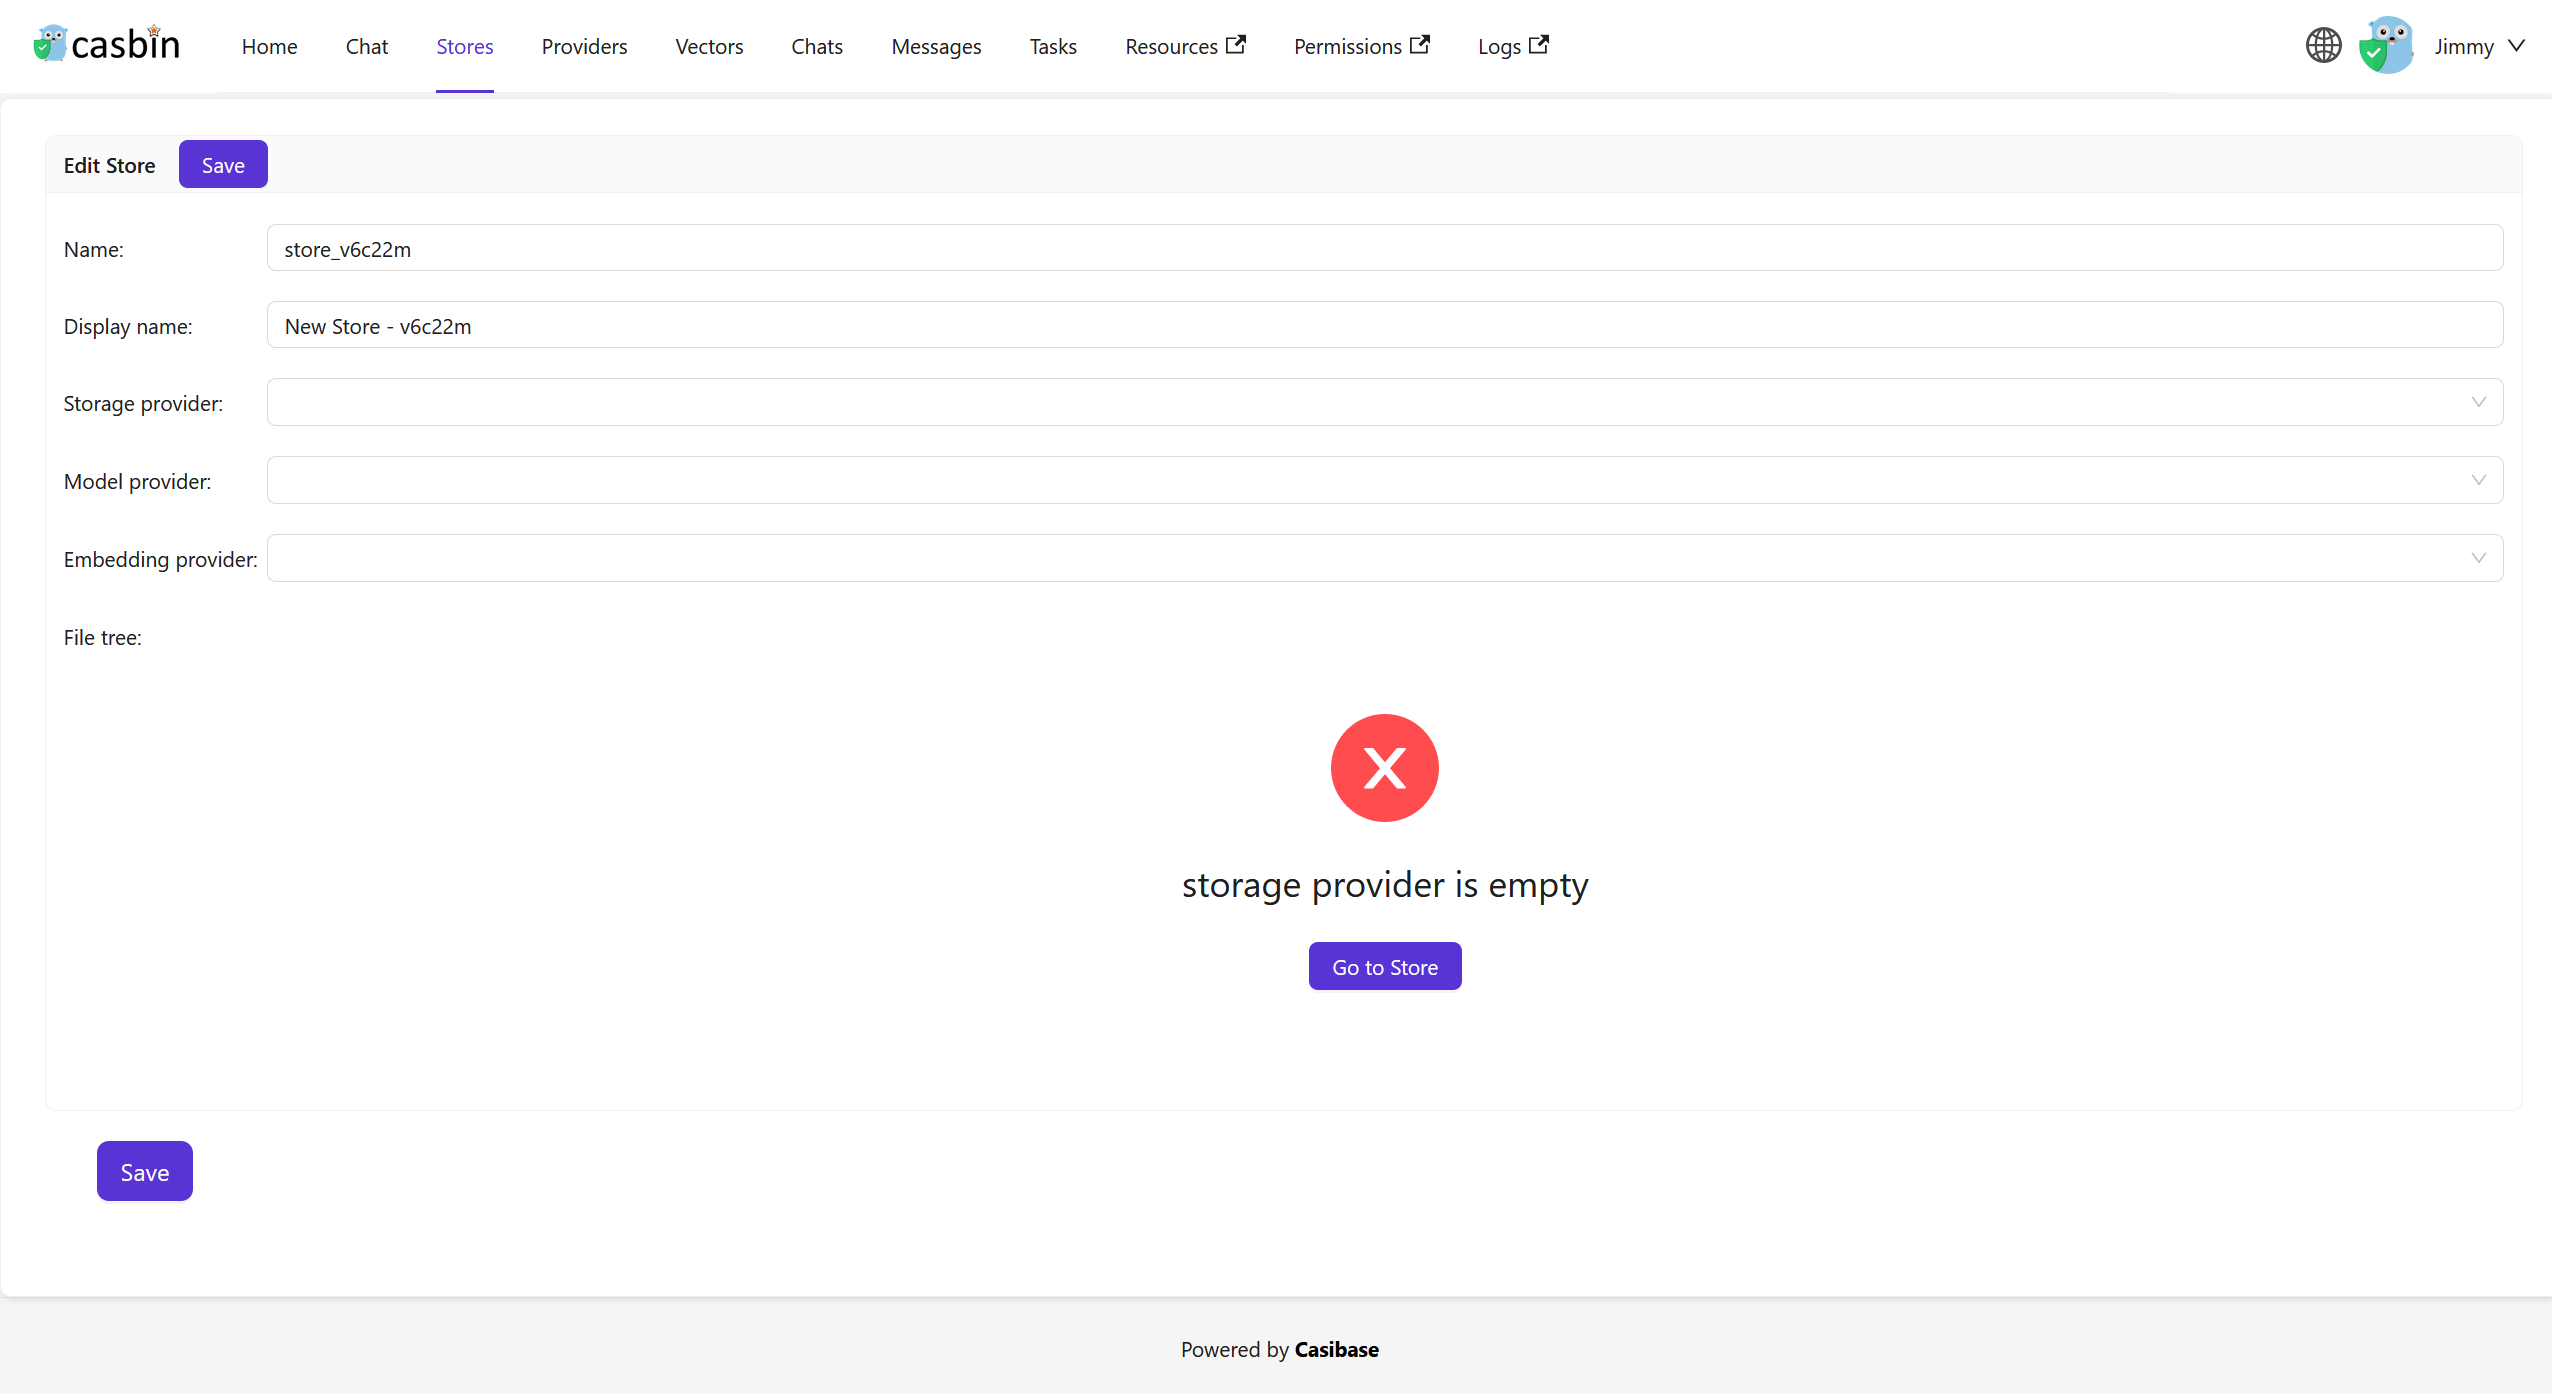
请选择之前添加的存储提供商、模型提供商、嵌入服务提供商、文本转语音服务提供商和语音转文本服务提供商。
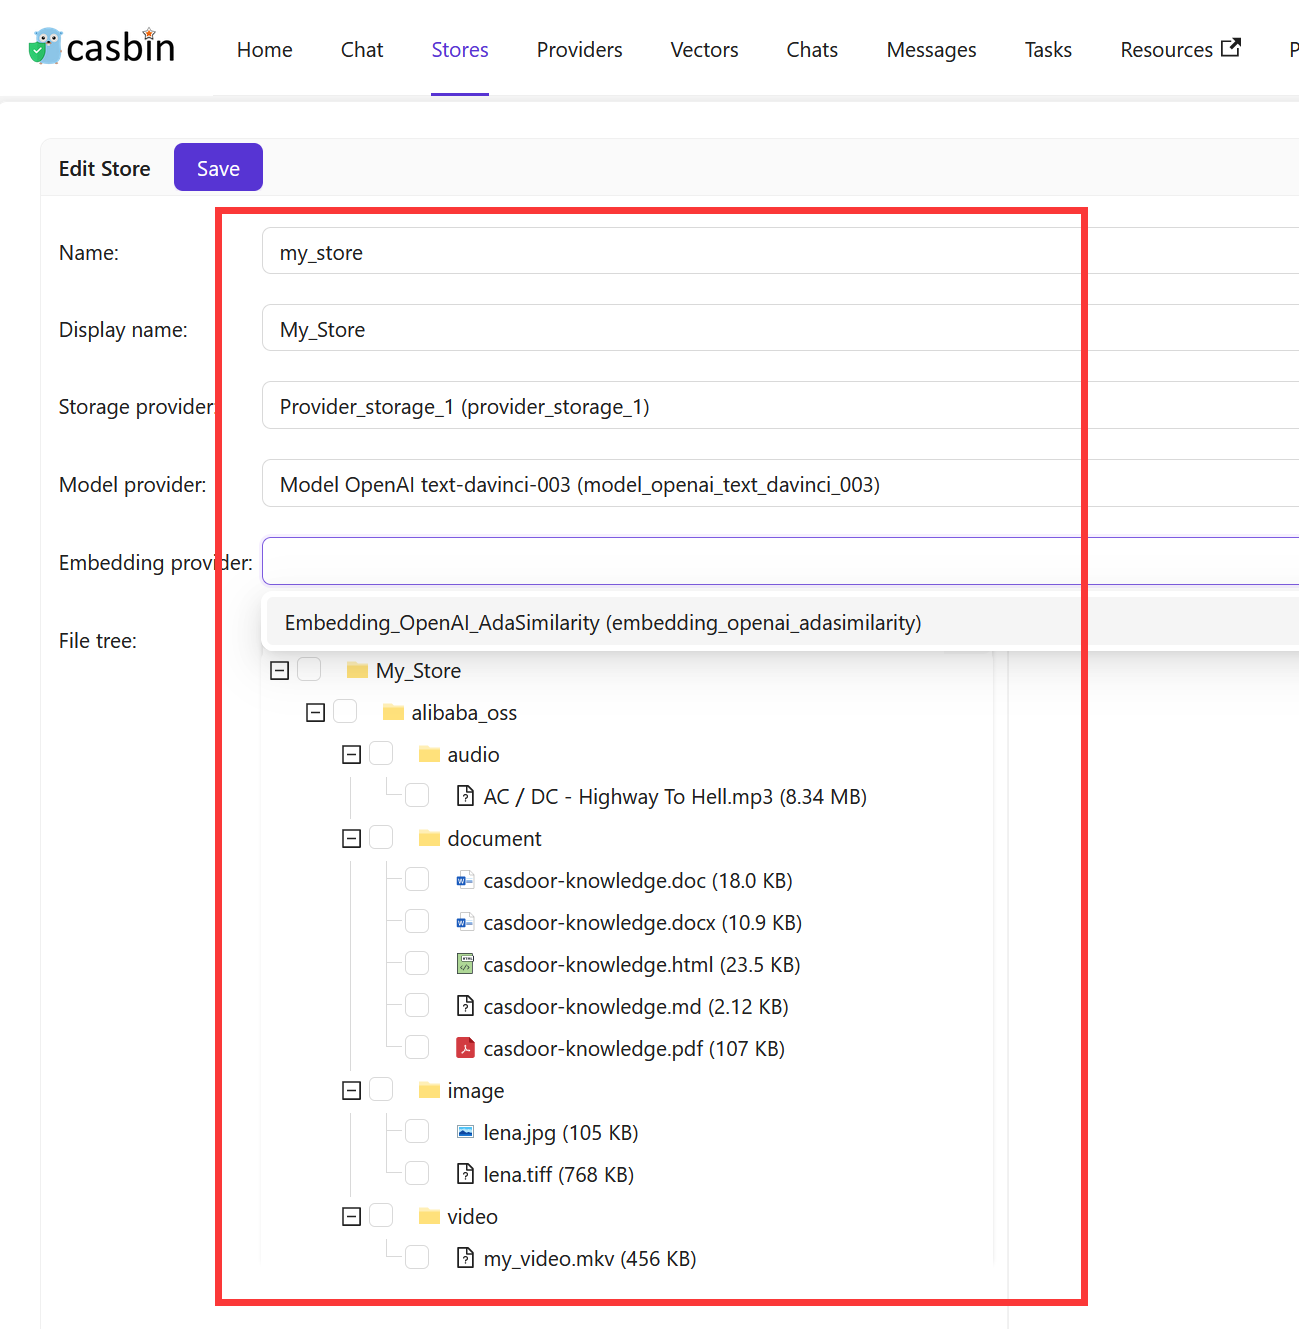
点击 保存并退出 按钮并返回存储列表页面:

The store list shows many columns for AI configurations like model providers, embedding providers, and voice settings. If you're mainly using stores for file management, toggle "Hide chat" at the top of the list to simplify the view and show only the essentials: name, storage provider, and status.
现在,你可以使用该存储来存储知识库数据、转换文本为向量,并与聊天机器人对话。
When configuring your store, consider adding example questions that appear when users start a new chat. These suggestions help users discover what they can ask and get them started quickly. You can also configure which other stores this one should search through using the Vector stores field - useful when you want one store to pull knowledge from multiple sources.
Vector Stores
Sometimes you need one store to search through knowledge from multiple other stores. For example, you might have separate stores for different topics or departments, but want a main store that can answer questions by searching across all of them. The Vector stores field makes this possible by letting a store use vectors from other stores in addition to its own.
To configure this, navigate to the store edit page and find the Vector stores field. You can select one or more stores from the dropdown list. When you chat with this store, it will automatically search through both its own vectors and the vectors from all the stores you selected. This way, you can create a centralized knowledge hub without duplicating content across multiple stores.
The store always uses its own vectors automatically. You only need to specify additional stores in the Vector stores field when you want to search across multiple knowledge bases.
在下一节中,我们将学习如何在 Casibase 中与聊天机器人对话。
2.Store Isolation for Users
Casibase lets you restrict users to specific stores through Casdoor's Homepage field. When a user's Homepage matches a store name, they become bound to that store and work within it exclusively - perfect for multi-tenant setups where teams need separate knowledge bases.
Bound users see their assigned store locked in the top bar selector. They can view and query only that store's data, and API calls to other stores fail with an error. They also cannot add, delete, or rename stores, keeping their workspace stable and isolated.
To bind a user, edit their Casdoor profile and set the Homepage field to the exact store name (case-sensitive). The binding activates on their next login. Users with an empty Homepage or one that doesn't match any store keep full access to all stores, so you can mix restricted and unrestricted users easily.
3.Support Multi-store
多存储模式为用户在每个不同的存储中提供不同的模型、建议等功能。
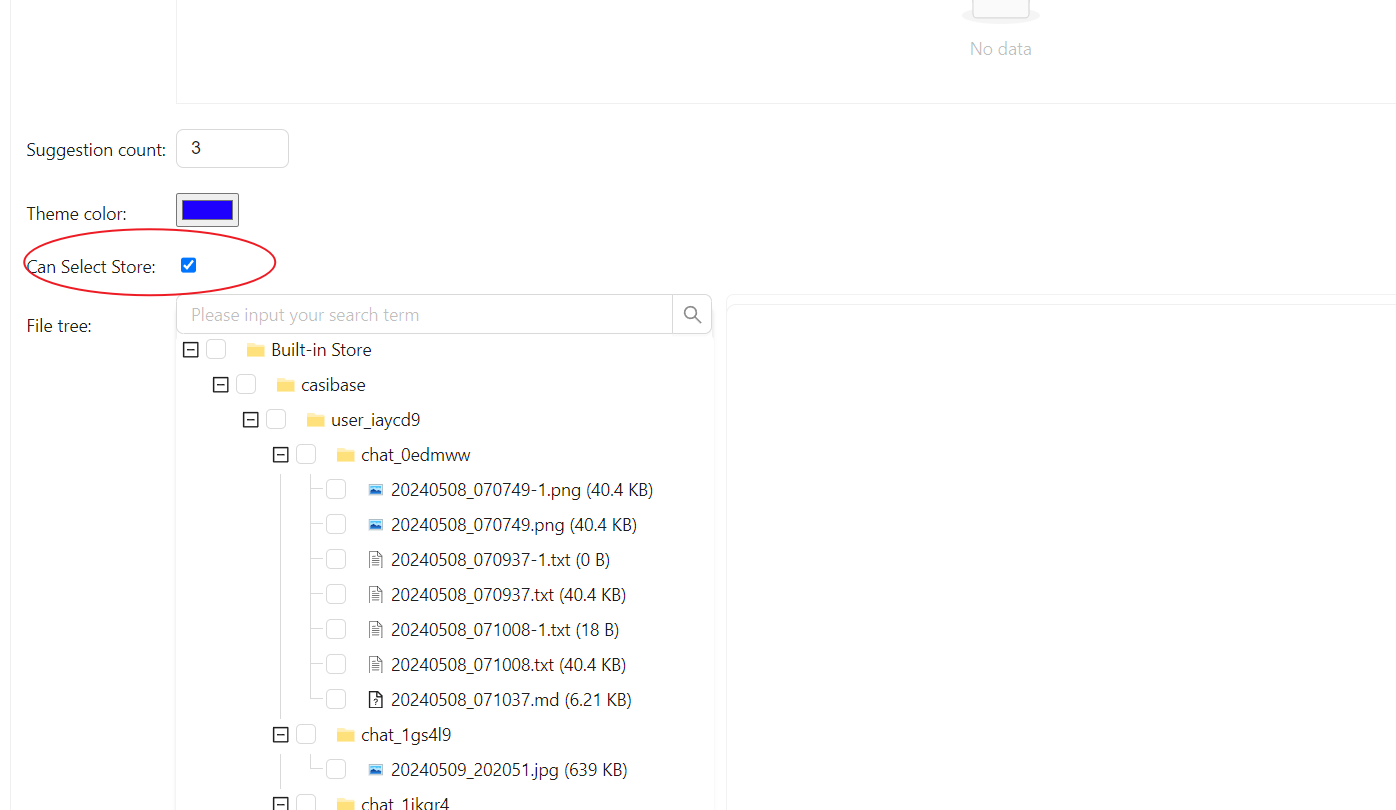
启用多存储
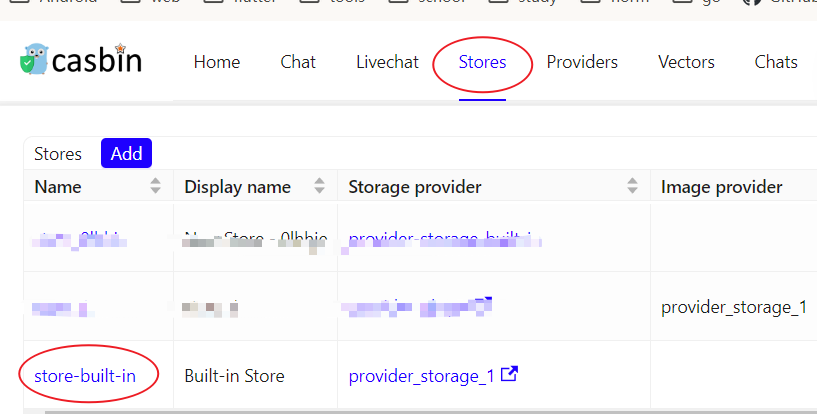
首先,你需要在内置存储中启用多存储模式。
点击主页上的 存储 按钮,然后点击 store-built-in 按钮进入内置存储。
向下滚动找到 可选择存储 字段,勾选它。
添加可用存储
多店模式仅提供可用的店铺。 要使存储可用,您需要配置其存储提供商、模型提供商和嵌入提供商。
选择对话存储
Casibase 提供了一个非常方便的方法来选择存储。
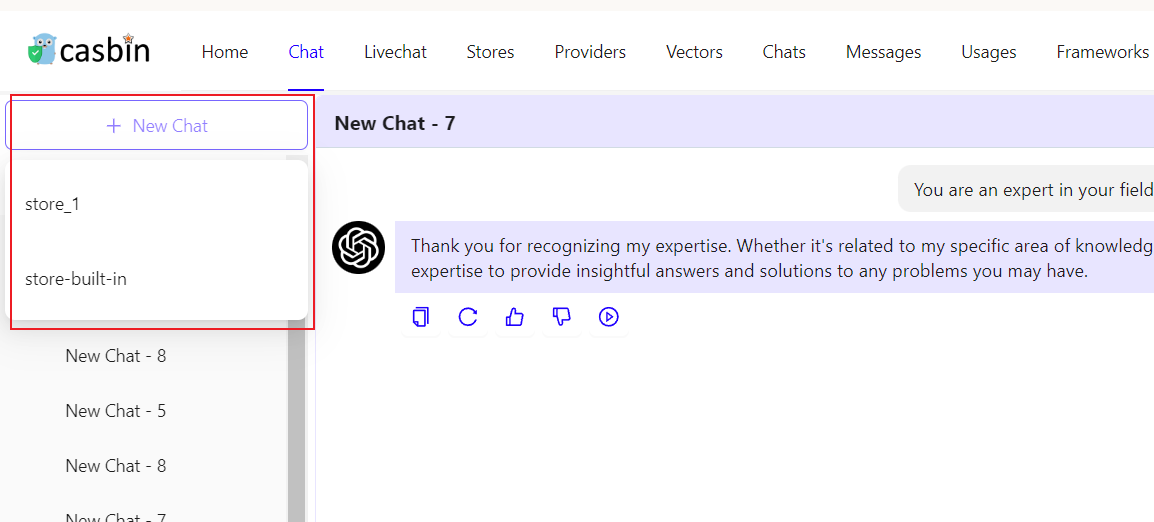
只需将鼠标悬停在"新建对话"上,然后你就可以从下方出现的列表中选择你想要使用的存储。
如果你点击"新建对话"按钮,系统将为你分配一个默认存储。