Speicherkonfiguration
Nach dem Hinzufügen von Speicheranbietern, Modellanbietern und Embedding-Anbietern können wir den Speicher konfigurieren
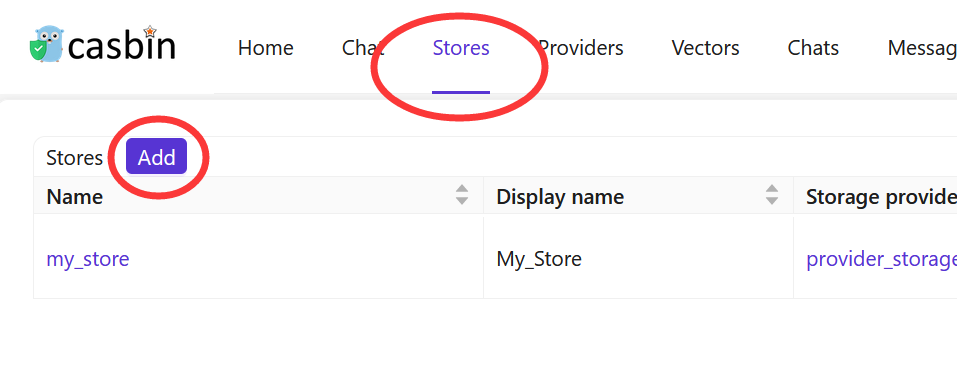
1. Neuen Speicher hinzufügen
Speicher werden verwendet, um Storage-, Model- und Embedding-Provider in Casibase zu integrieren. Sie können sie wie folgt hinzufügen:
Klicken Sie auf der Hauptseite auf die Schaltfläche Stores und dann auf die Schaltfläche Add, um einen Speicher hinzuzufügen.
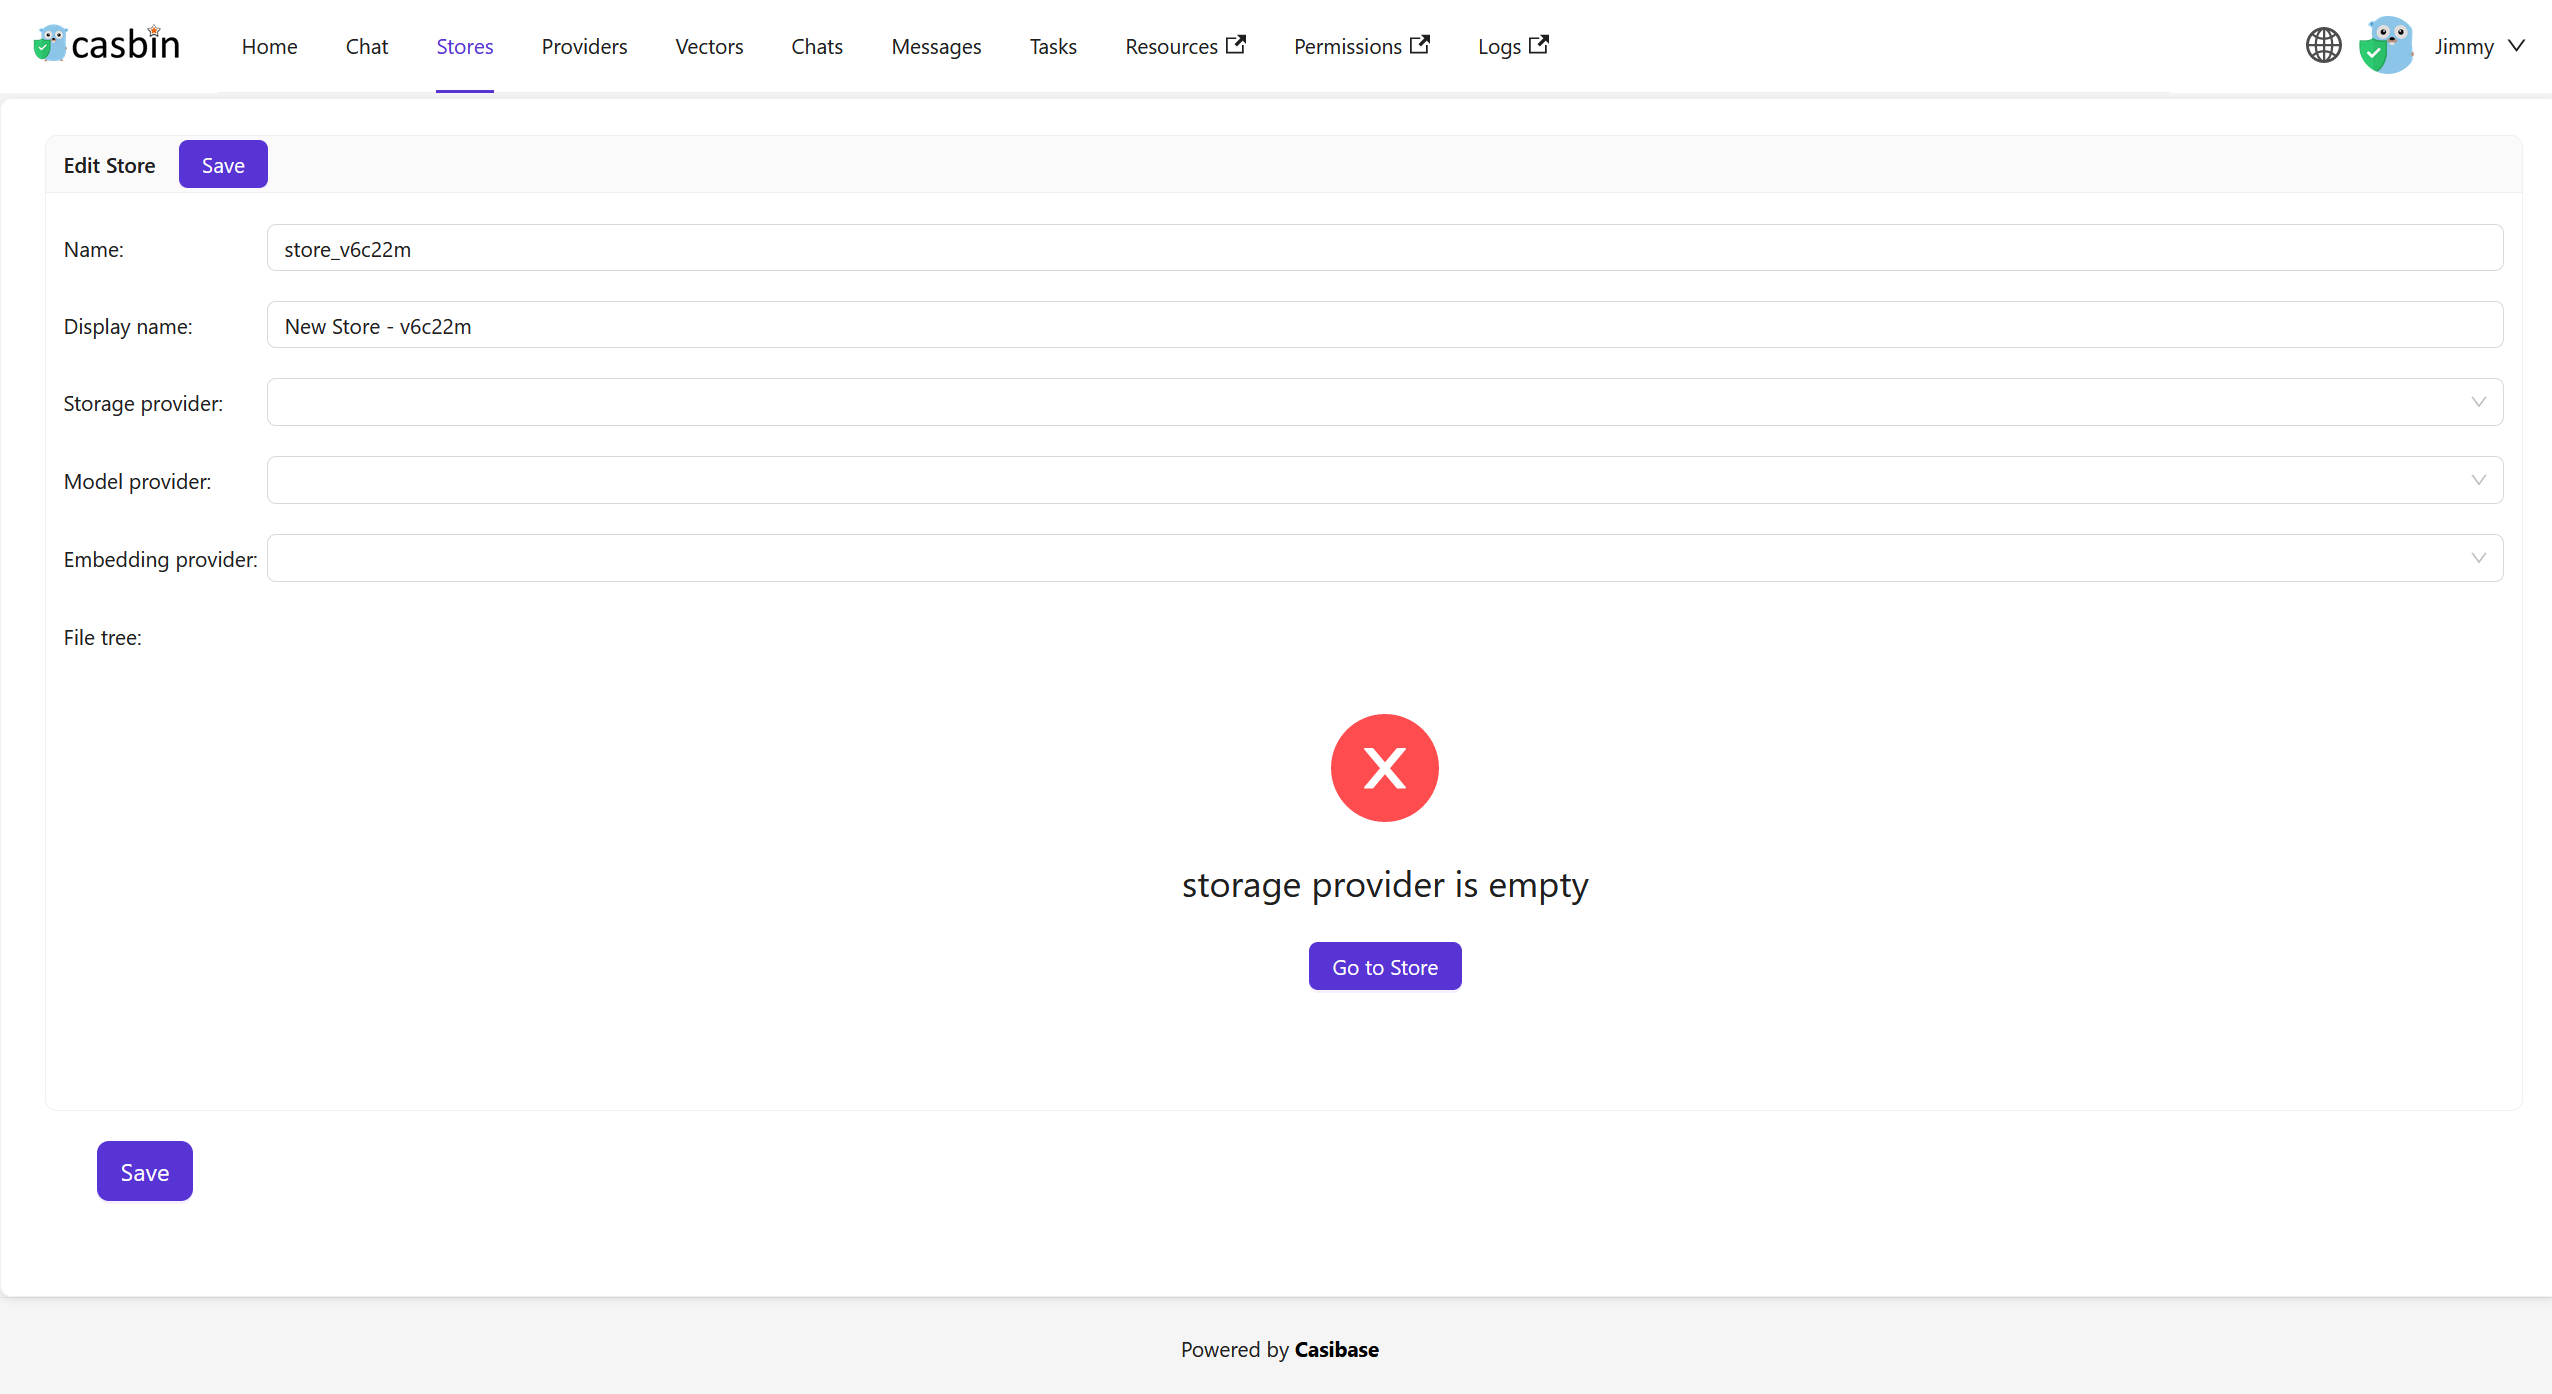
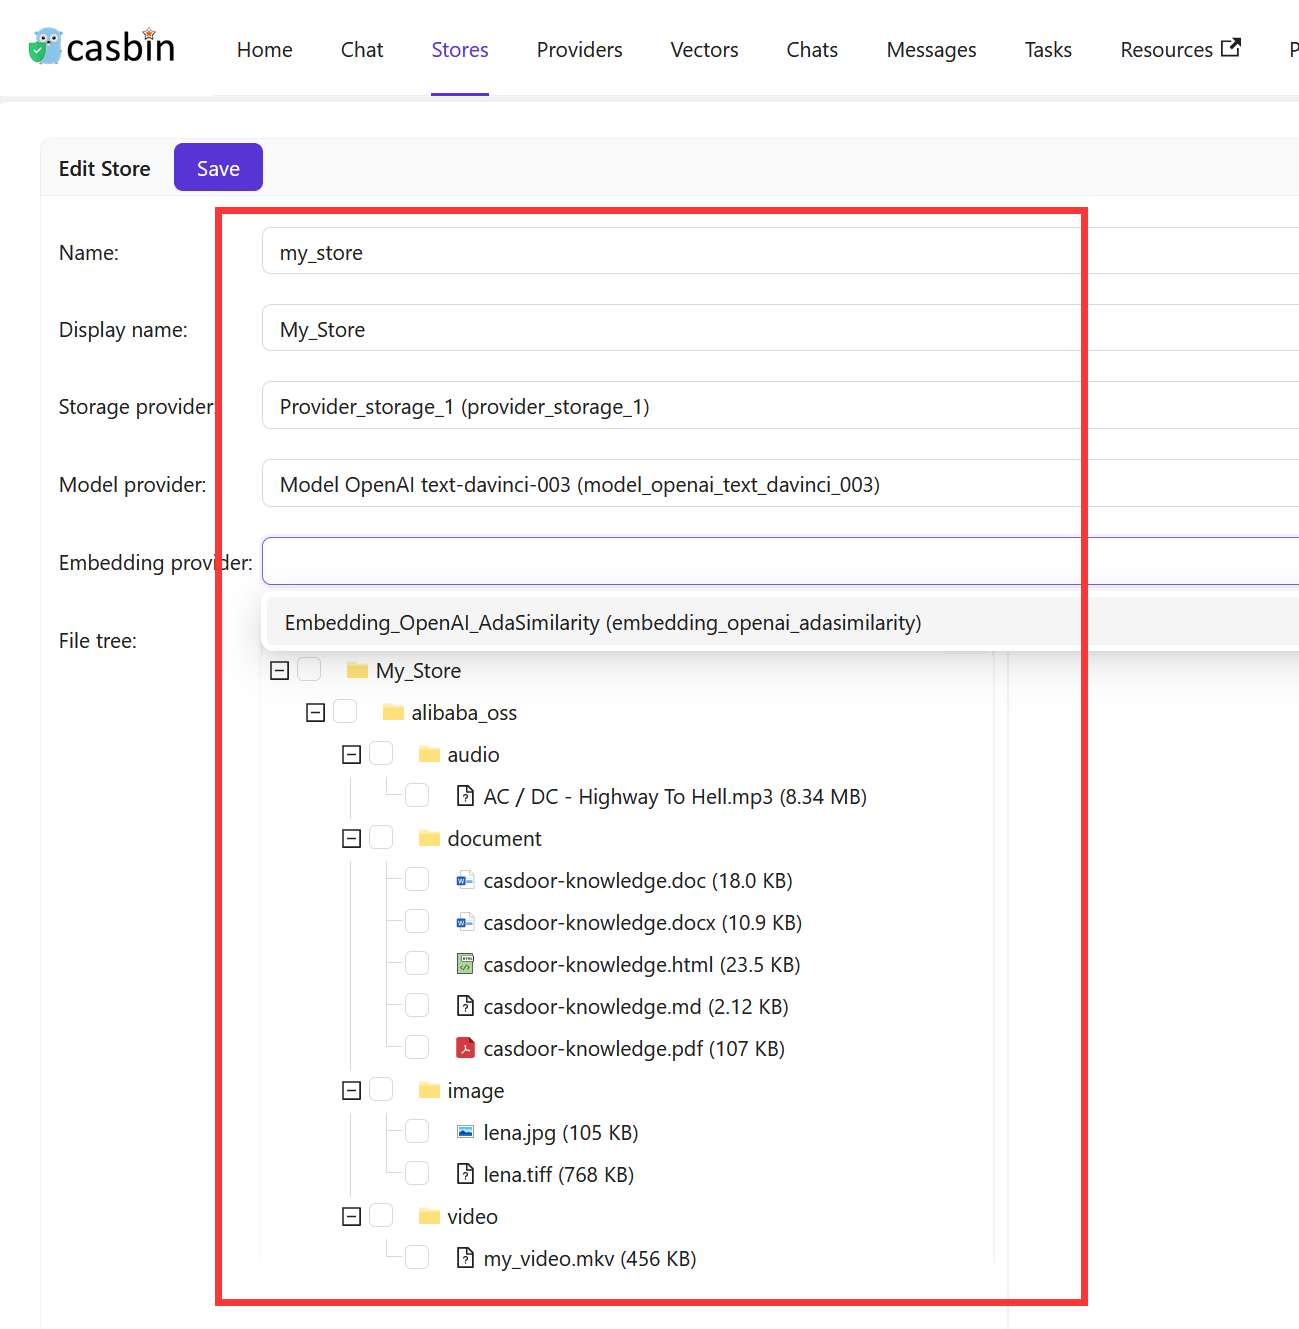
Speicherdetails ausfüllen
Füllen Sie die Speicherdetails aus und klicken Sie auf die Schaltfläche Save & Exit.
Select the storage provider, model provider, embedding provider, text-to-speech provider and speech-to-text provider you added before.
Klicken Sie auf die Schaltfläche Save & Exit und kehren Sie zur Speicherliste zurück:

The store list shows many columns for AI configurations like model providers, embedding providers, and voice settings. If you're mainly using stores for file management, toggle "Hide chat" at the top of the list to simplify the view and show only the essentials: name, storage provider, and status.
Jetzt können Sie den Speicher verwenden, um Wissensdaten zu speichern, Text in Vektoren umzuwandeln und mit dem Chatbot zu kommunizieren.
When configuring your store, consider adding example questions that appear when users start a new chat. These suggestions help users discover what they can ask and get them started quickly. You can also configure which other stores this one should search through using the Vector stores field - useful when you want one store to pull knowledge from multiple sources.
Vector Stores
Sometimes you need one store to search through knowledge from multiple other stores. For example, you might have separate stores for different topics or departments, but want a main store that can answer questions by searching across all of them. The Vector stores field makes this possible by letting a store use vectors from other stores in addition to its own.
To configure this, navigate to the store edit page and find the Vector stores field. You can select one or more stores from the dropdown list. When you chat with this store, it will automatically search through both its own vectors and the vectors from all the stores you selected. This way, you can create a centralized knowledge hub without duplicating content across multiple stores.
The store always uses its own vectors automatically. You only need to specify additional stores in the Vector stores field when you want to search across multiple knowledge bases.
Im nächsten Abschnitt lernen wir, wie man in Casibase mit dem Chatbot kommuniziert.
2.Store Isolation for Users
Casibase lets you restrict users to specific stores through Casdoor's Homepage field. When a user's Homepage matches a store name, they become bound to that store and work within it exclusively - perfect for multi-tenant setups where teams need separate knowledge bases.
Bound users see their assigned store locked in the top bar selector. They can view and query only that store's data, and API calls to other stores fail with an error. They also cannot add, delete, or rename stores, keeping their workspace stable and isolated.
To bind a user, edit their Casdoor profile and set the Homepage field to the exact store name (case-sensitive). The binding activates on their next login. Users with an empty Homepage or one that doesn't match any store keep full access to all stores, so you can mix restricted and unrestricted users easily.
3.Support Multi-store
Der Multi-Speicher-Modus bietet Benutzern verschiedene Modelle und Vorschläge in jedem unterschiedlichen Speicher.
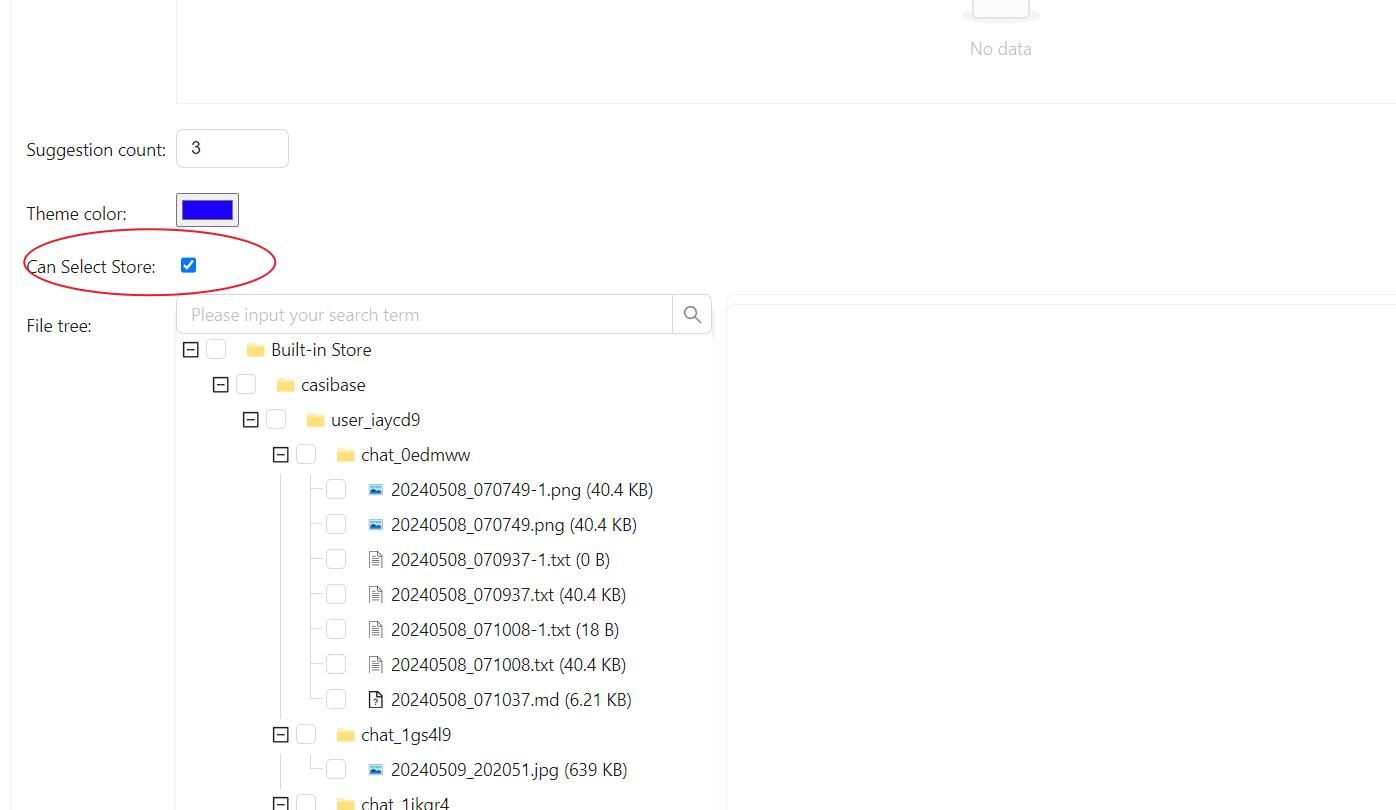
Multi-Speicher aktivieren
Zunächst sollten Sie den Multi-Speicher-Modus im eingebauten Speicher aktivieren.
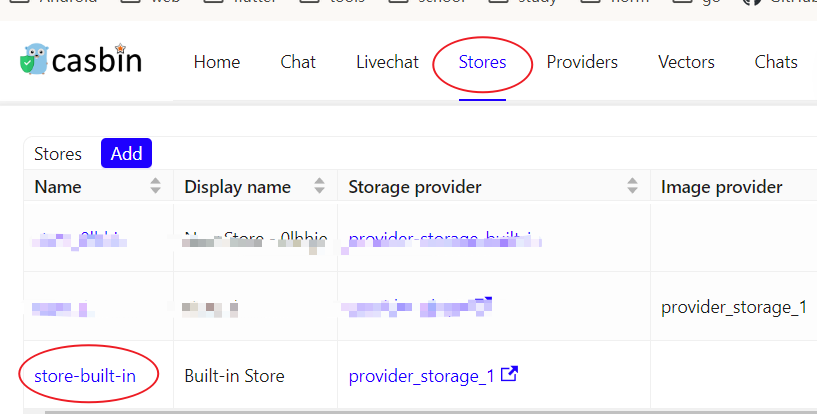
Klicken Sie auf der Hauptseite auf die Schaltfläche Stores und dann auf die Schaltfläche store-built-in, um den eingebauten Speicher zu öffnen.
Scrollen Sie nach unten zum Feld Can Select Store und aktivieren Sie es.
Verfügbare Speicher hinzufügen
Der Multi-Speicher-Modus stellt nur verfügbare Speicher zur Verfügung. Um einen Speicher verfügbar zu machen, müssen Sie dessen Speicheranbieter, Modellanbieter und Embedding-Anbieter konfigurieren.
Speicher für Gespräche auswählen
Casibase bietet eine sehr bequeme Methode zur Auswahl von Speichern.
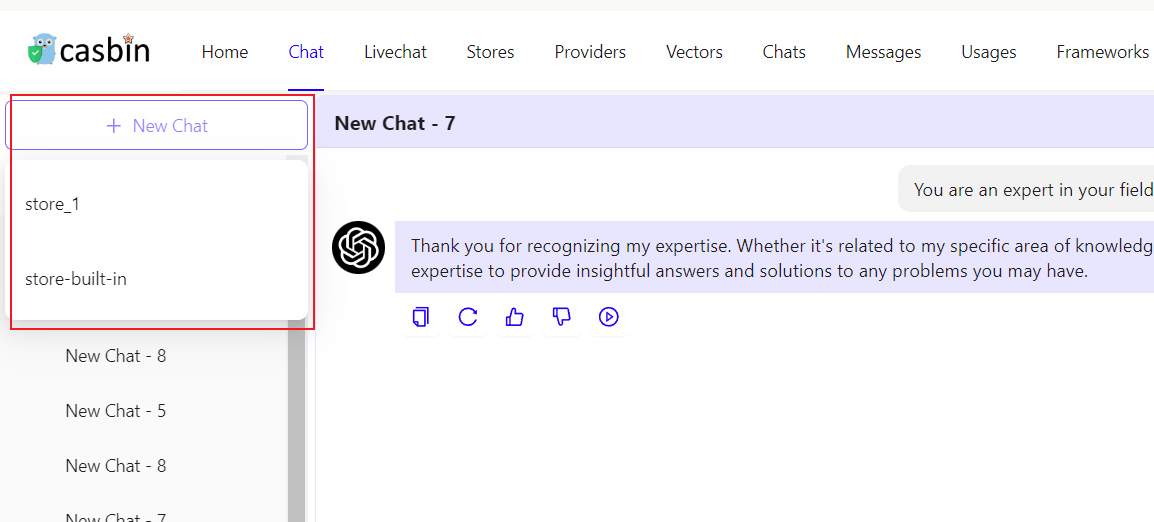
Fahren Sie einfach mit der Maus über "New Chat" und wählen Sie dann den gewünschten Speicher aus der erscheinenden Liste aus.
Wenn Sie auf die Schaltfläche "New Chat" klicken, wird Ihnen ein Standardspeicher zugewiesen.