Kubernetes Configuration
Kubernetes (K8s) is an open-source container orchestration platform for automating the deployment, scaling, and management of containerized applications. It has become the de facto standard for managing applications in modern, cloud-native environments. By providing a robust framework for running distributed systems resiliently, Kubernetes simplifies complex operational tasks.
In this chapter, you will learn how to configure and use a Kubernetes provider in Casibase. This will allow you to connect Casibase to your Kubernetes cluster, enabling you to monitor and manage your cloud resources directly from the Casibase interface.
1. Configuration Field Description
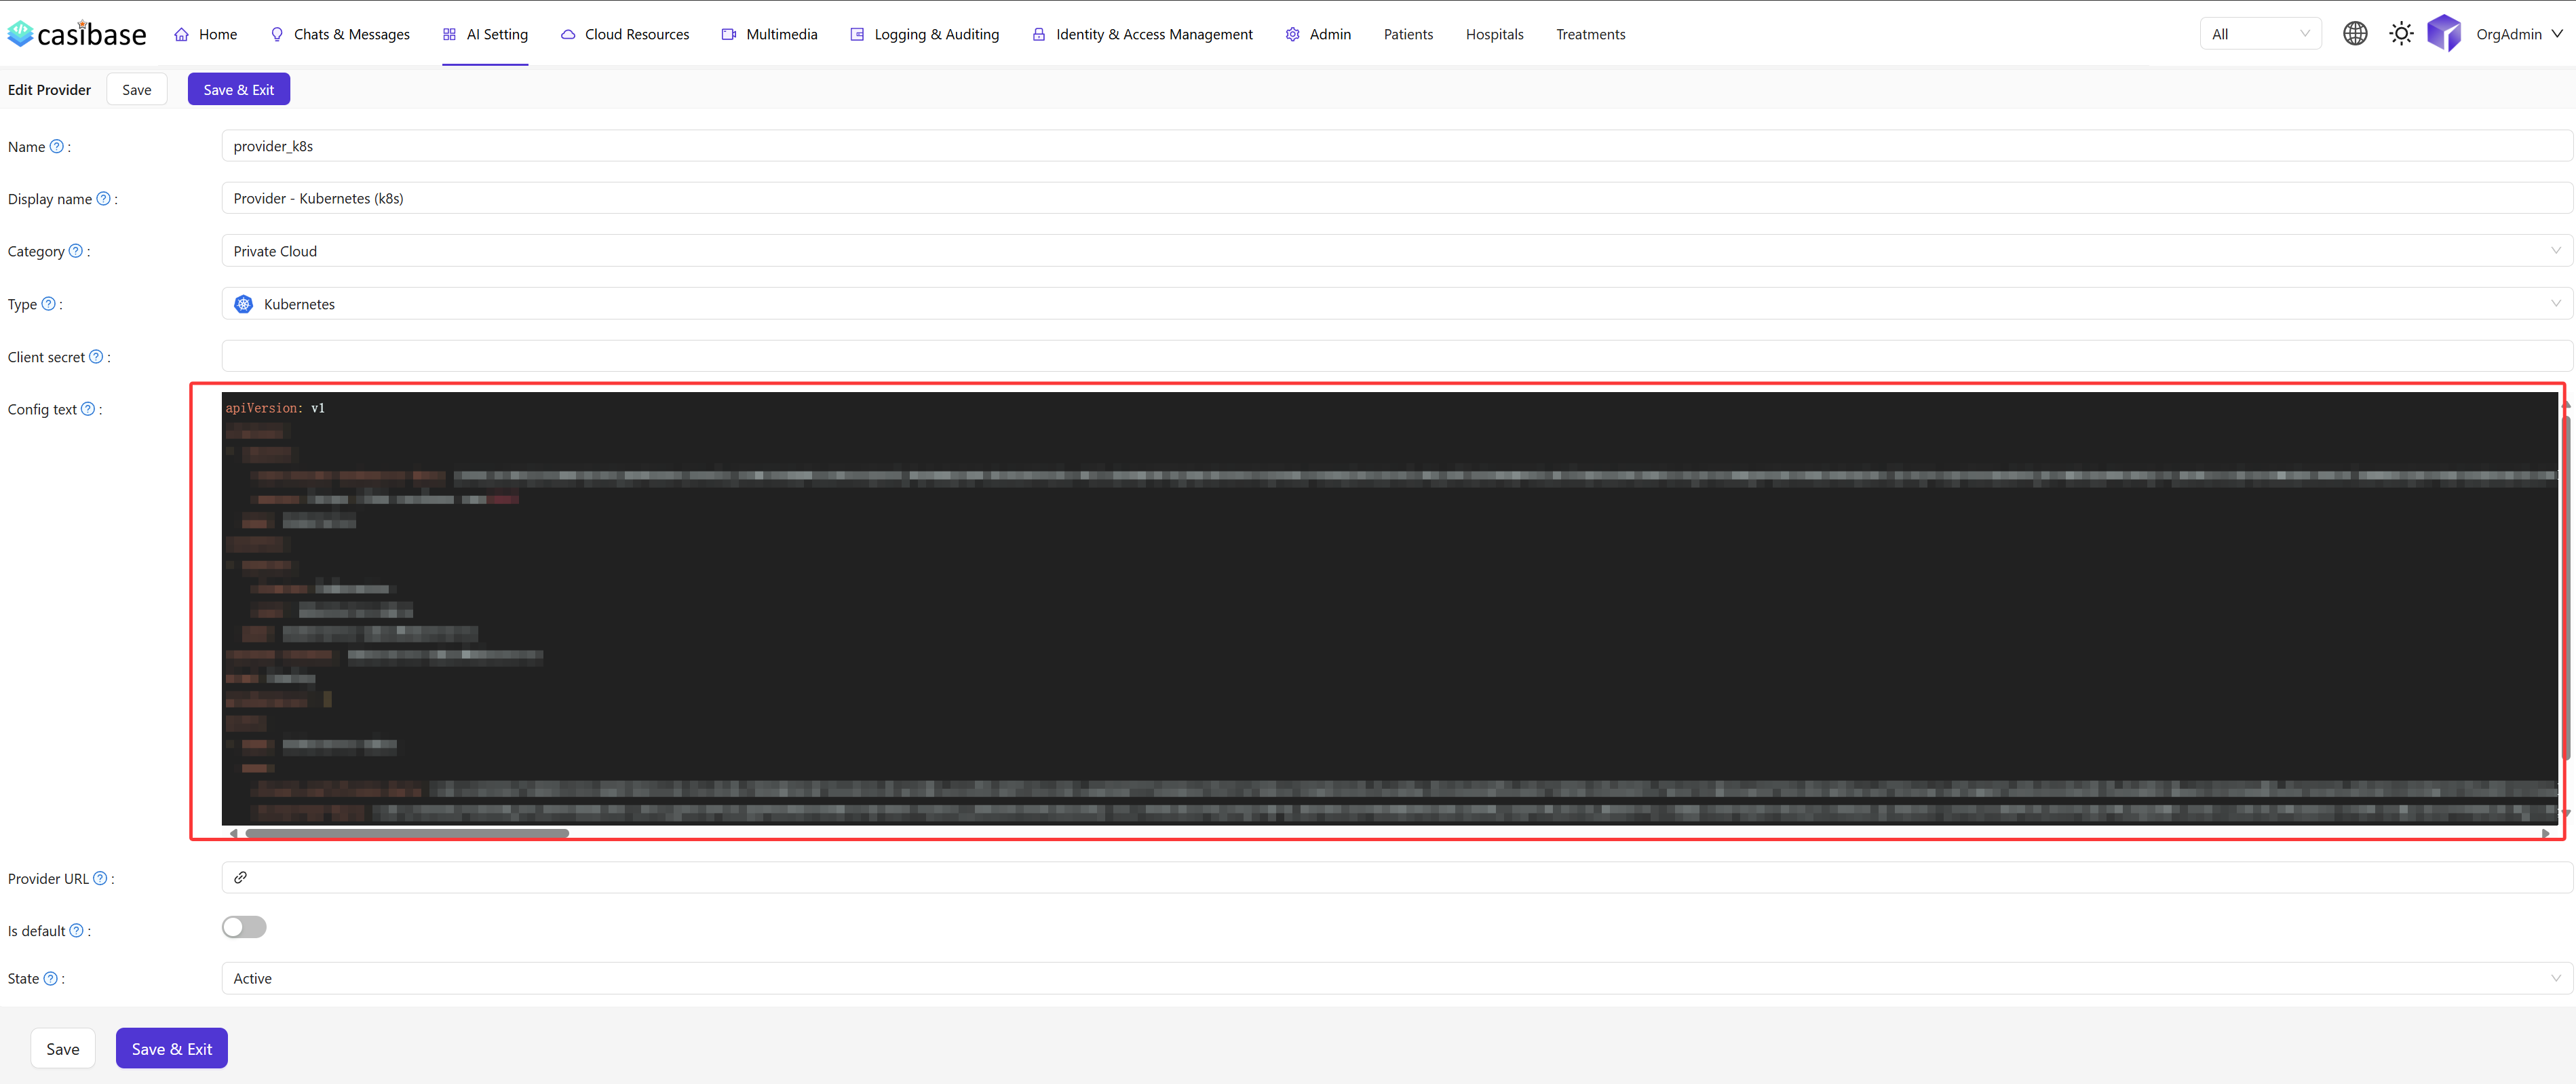
When configuring a Kubernetes provider in Casibase, you need to fill in several key fields. Each field has a specific meaning and is required for the correct integration with your Kubernetes cluster. The following list explains the purpose of each field:
Name: The unique identifier for this private cloud provider.Display name: The display name shown in the UI for this provider.Category: The type of service; here it should bePrivate Cloud.Type: The cloud-native platform type; here it should beKubernetes.Config text: The raw text content of yourkubeconfigfile, which contains the credentials and endpoint information needed to connect to your Kubernetes cluster.
Please make sure to fill in each field accurately. The Config text is crucial for establishing a successful connection.
2. Configure Kubernetes
The primary method for connecting Casibase to your Kubernetes cluster is by using your kubeconfig file.
2.1 Obtain Your Kubeconfig File
Before proceeding, you must ensure that the kubeconfig file you intend to use can successfully connect to your Kubernetes cluster. A reliable way to get the raw configuration is to run the following command in your terminal:
kubectl config view --raw > kubeconfig.yaml
This command will save the complete, flattened configuration into a file named kubeconfig.yaml in your current directory. You can then open this file to copy its contents.
You can test your configuration file with a command that checks for pods across all namespaces. This is a more reliable test to confirm connectivity.
kubectl --kubeconfig=./kubeconfig.yaml get pods -A
If this command runs successfully (even if it just lists pods from system namespaces), you are ready to proceed.
2.2 Fill in the Provider Details
Copy the entire content of your valid kubeconfig.yaml file and paste it into the Config text field in the provider configuration form.
3. Verify the Connection
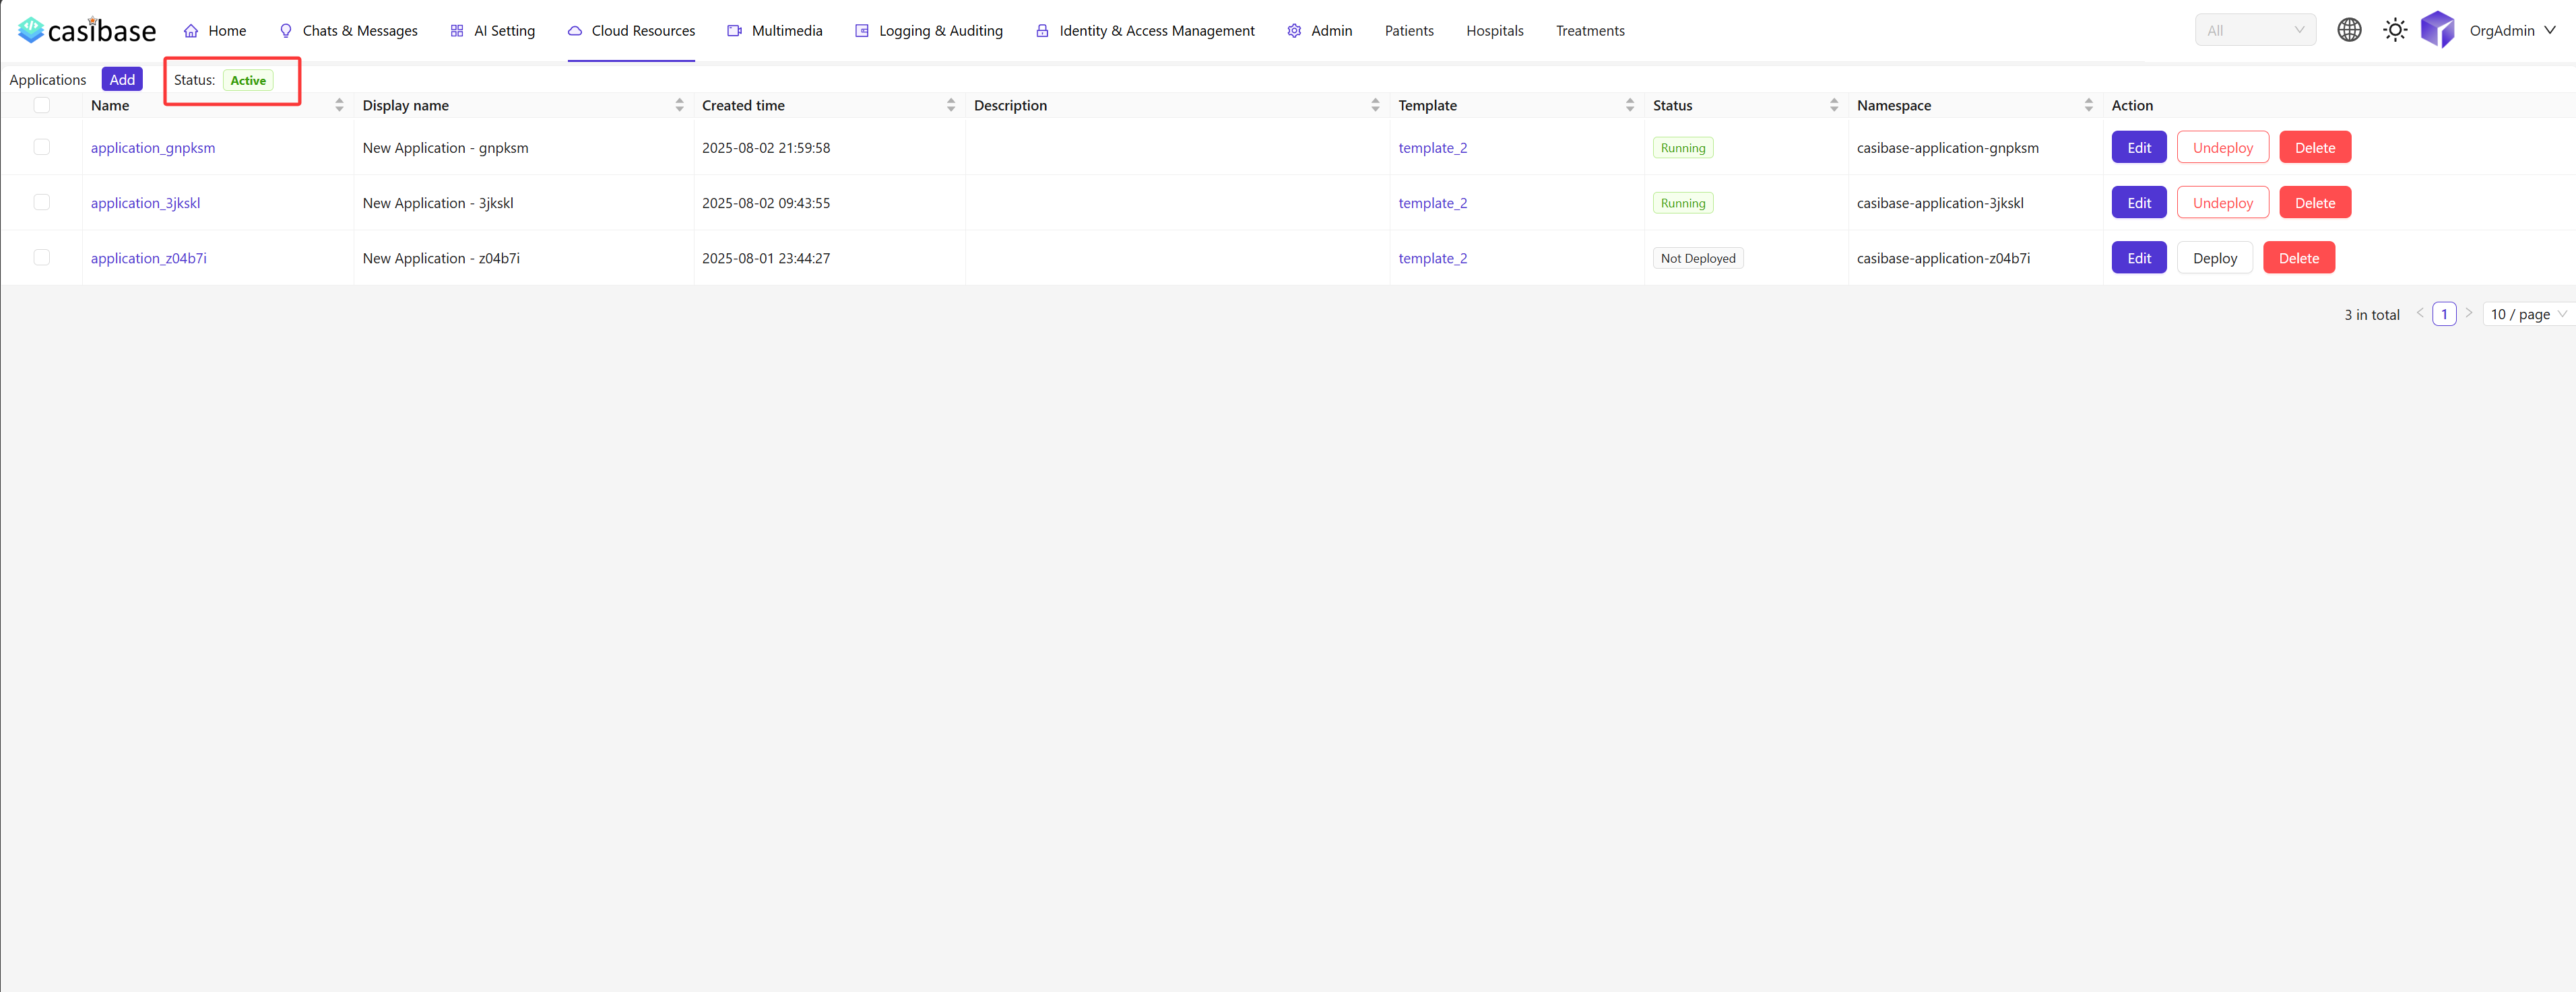
After you have filled in the details and saved the provider, you can verify if the connection was successful.
Navigate to the Cloud Resources > Applications section within Casibase. Here, you will see a list of your configured providers. Check the status of the Kubernetes provider you just added.
- Active: If the status is
Active, Casibase has successfully connected to your Kubernetes cluster. - Inactive: If the status is
Inactive, there was an issue with the connection. Please double-check the content of yourConfig textand ensure that there is network connectivity between Casibase and your Kubernetes cluster's API server.
Once the connection is active, you can begin to monitor and manage your Kubernetes resources through Casibase.